This post includes 25 Pumpkin Crafts To Make This Fall! Oh, how I love pumpkin crafts! I love them because they are not only fun, but you can have them up from September to the end of November! So, pumpkin crafts grace my home as soon as September hits! I love my fall decor!
One thing I am making soon is the pumpkin paper quill fall decor piece! It is the perfect project for you to get started with when making pumpkin crafts.
I have a list of 25 (including my pumpkin craft!) pumpkin crafts to make this fall for you, below! So, be sure to check them out!
*This post includes my affiliate links
25 Pumpkin Crafts To Make This Fall

Paper Quill Pumpkin!
This is a great project for beginners and makes a beautiful fall decor piece for your home. This fall craft project starts with just the basics of paper quilling and is easy enough for tweens or teens to do on their own as well.
The first pumpkin craft we will talk about today is this ADORABLE paper quill pumpin you see a picture of above! Isn’t that cute?? I love it! Let’s get started on how to make this cute guy!
Follow my easy step-by-step tutorial below to make your own paper quill pumpkin to add to your home fall decor collection. Tie in some additional pumpkin crafts (see more below!!) like I do, to make a beautiful display for fall!

Supplies:
- Paper Quilling Kit – specific tools used from the kit: Orange paper set (3 darkest colors) and green paper set (2 darkest colors), paper quilling pen, quilling board, glue bottle (filled with Tacky craft glue), scissors, tweezers
- 8×10 photos frame
- Brown cardstock sheet, cut to 8”x10”
- Glue or hot glue gun
- Pen or pencil
Notes: If you have never done paper quilling before, I recommend watching a few videos on YouTube to learn the basics. This project is pretty basic, so you should have no problem making it after watching a few beginner videos.
Directions:
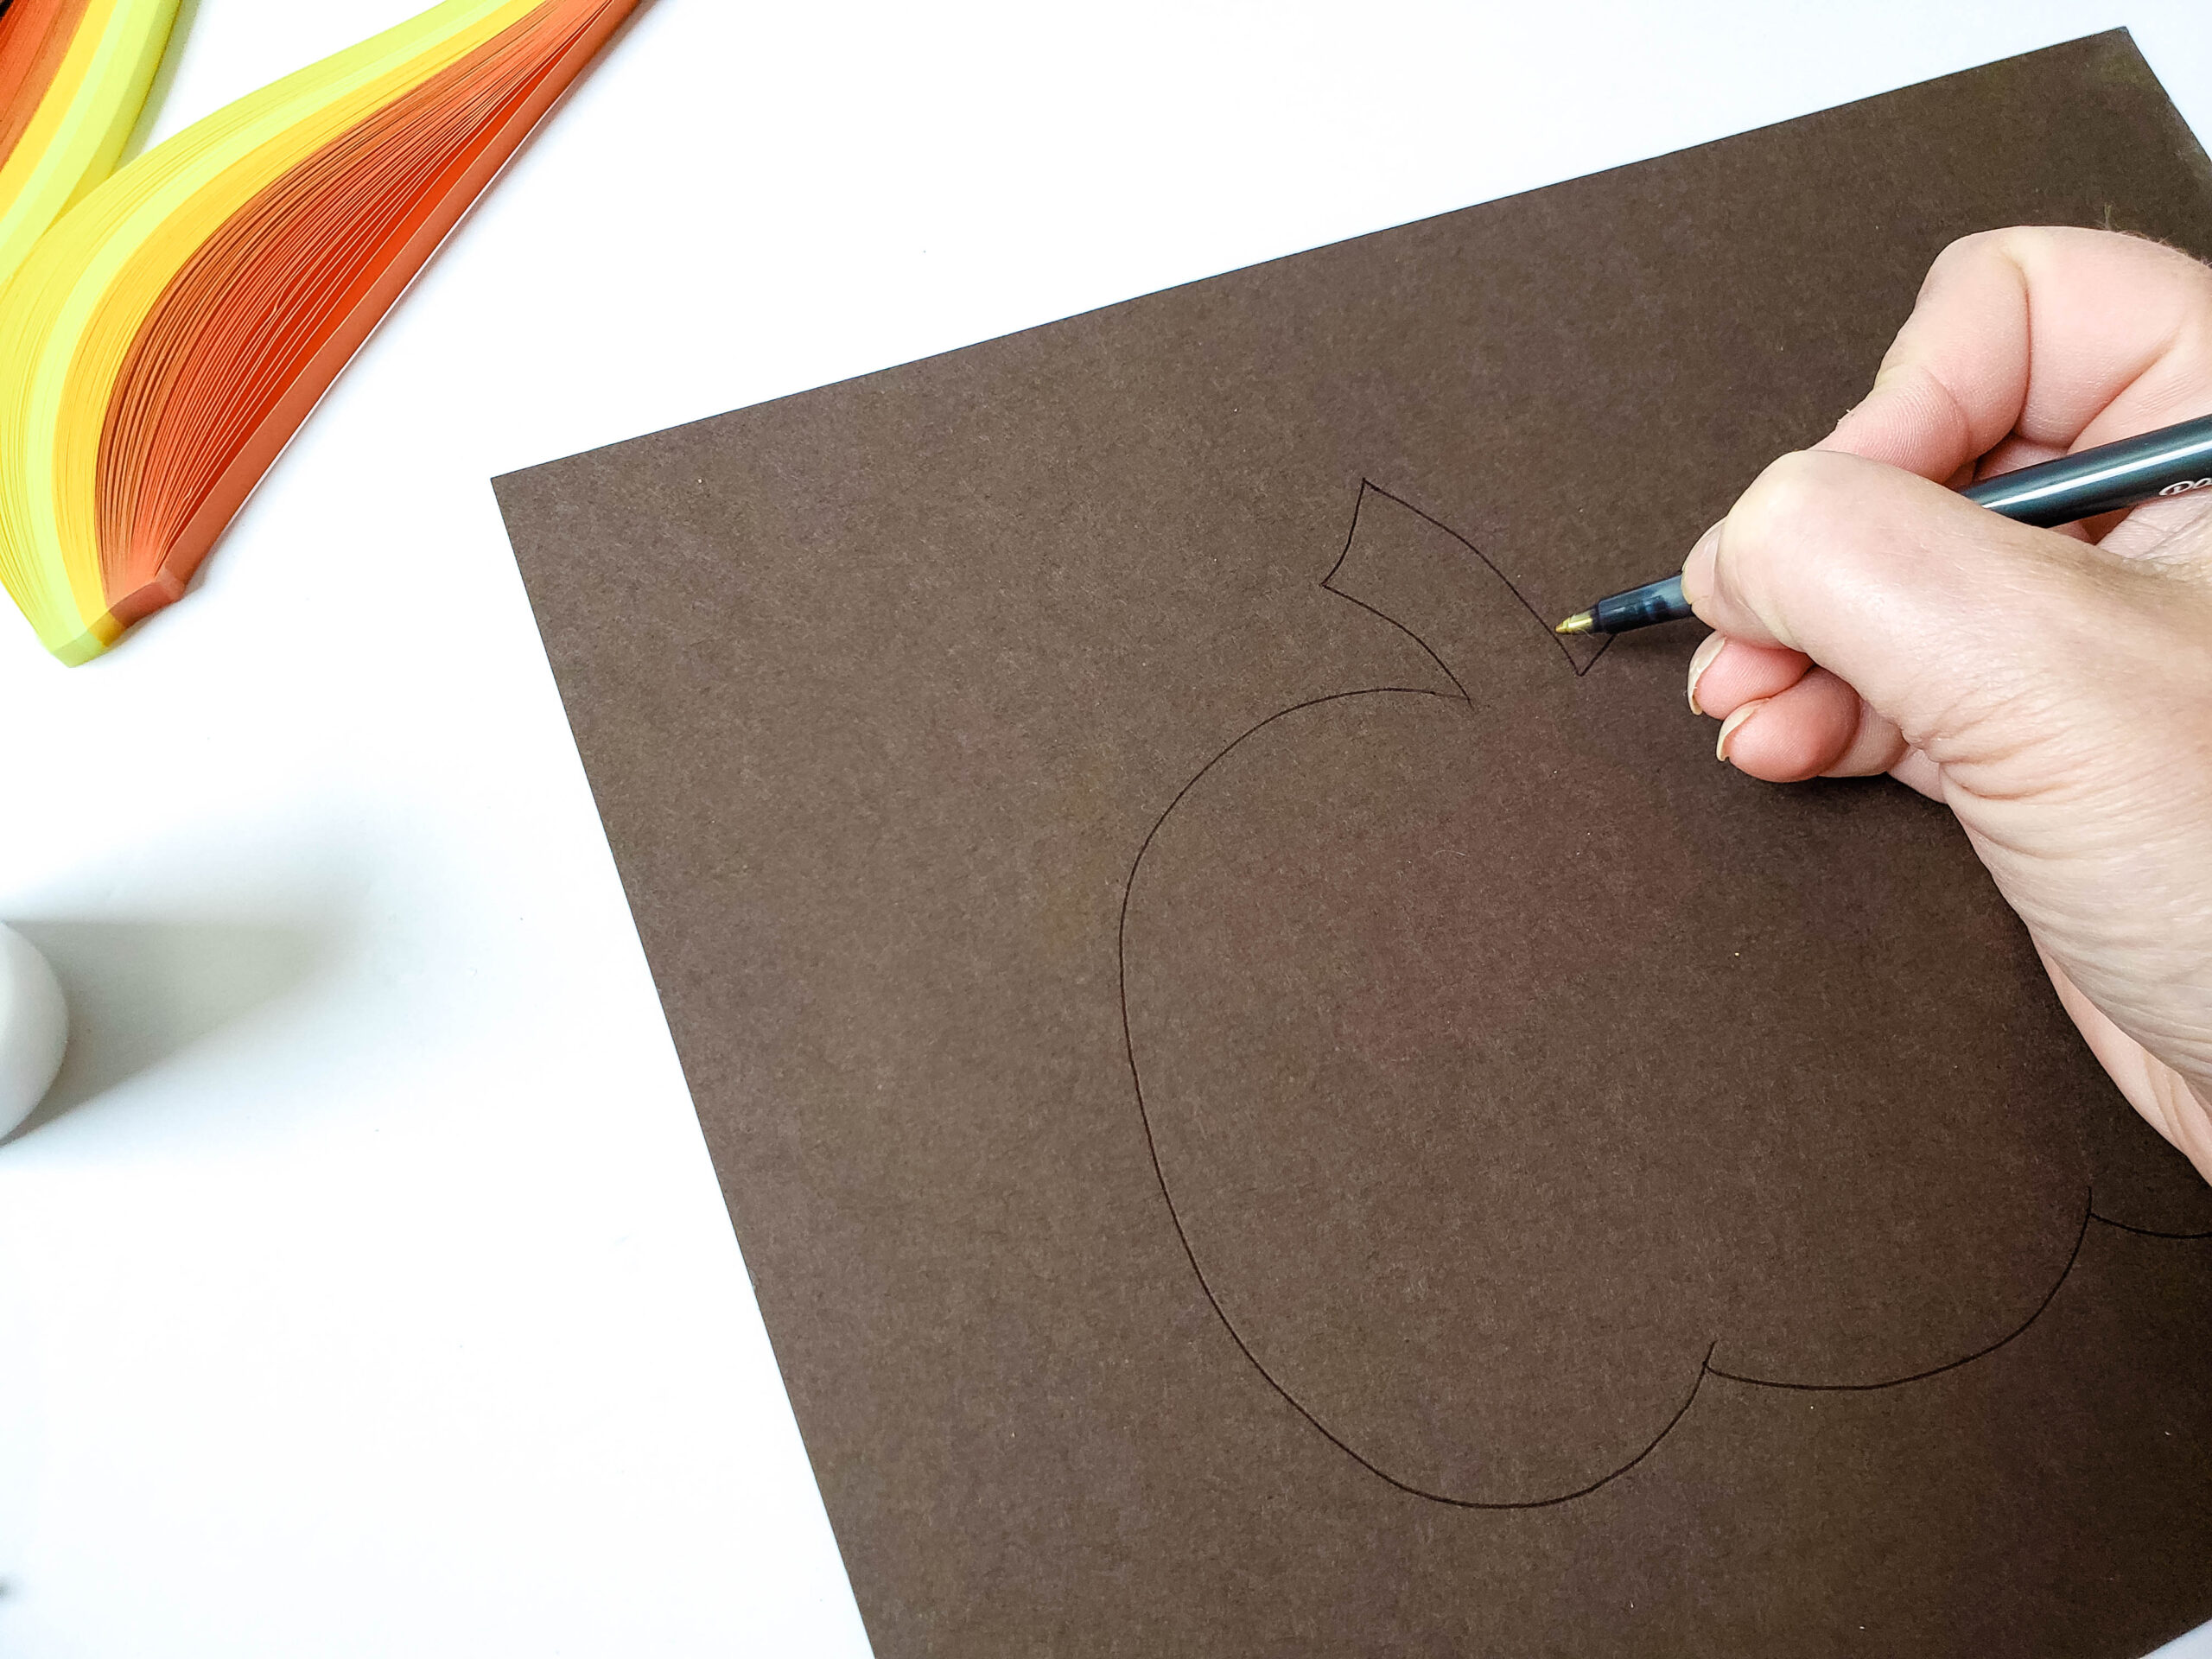
- Start by drawing your pumpkin. You can either print out a shape to trace or just free-hand it. A pumpkin is pretty basic, so I just went with a free hand.
2. Remove the paper strips you will be using from the rest of the stack, and peel them off the glue. You will be using ALL of the 3 darkest orange colors, as well as one strip of the darkest green color, and two strips of the second darkest green color.
3. Fill your glue bottle with glue, and trace your entire drawn pumpkin with a thin layer of glue.
4. Take a strip of the darkest orange paper and maneuver it around the pumpkin, on the glue. You will need to cut the paper when you come to a point in the design, then start over with maneuvering over the glue. You may need to hold the paper in place for 30-60 seconds to get it to stay exactly where you want it.
5. Repeat step 4 for the stem, with the darkest shade of green paper strip.
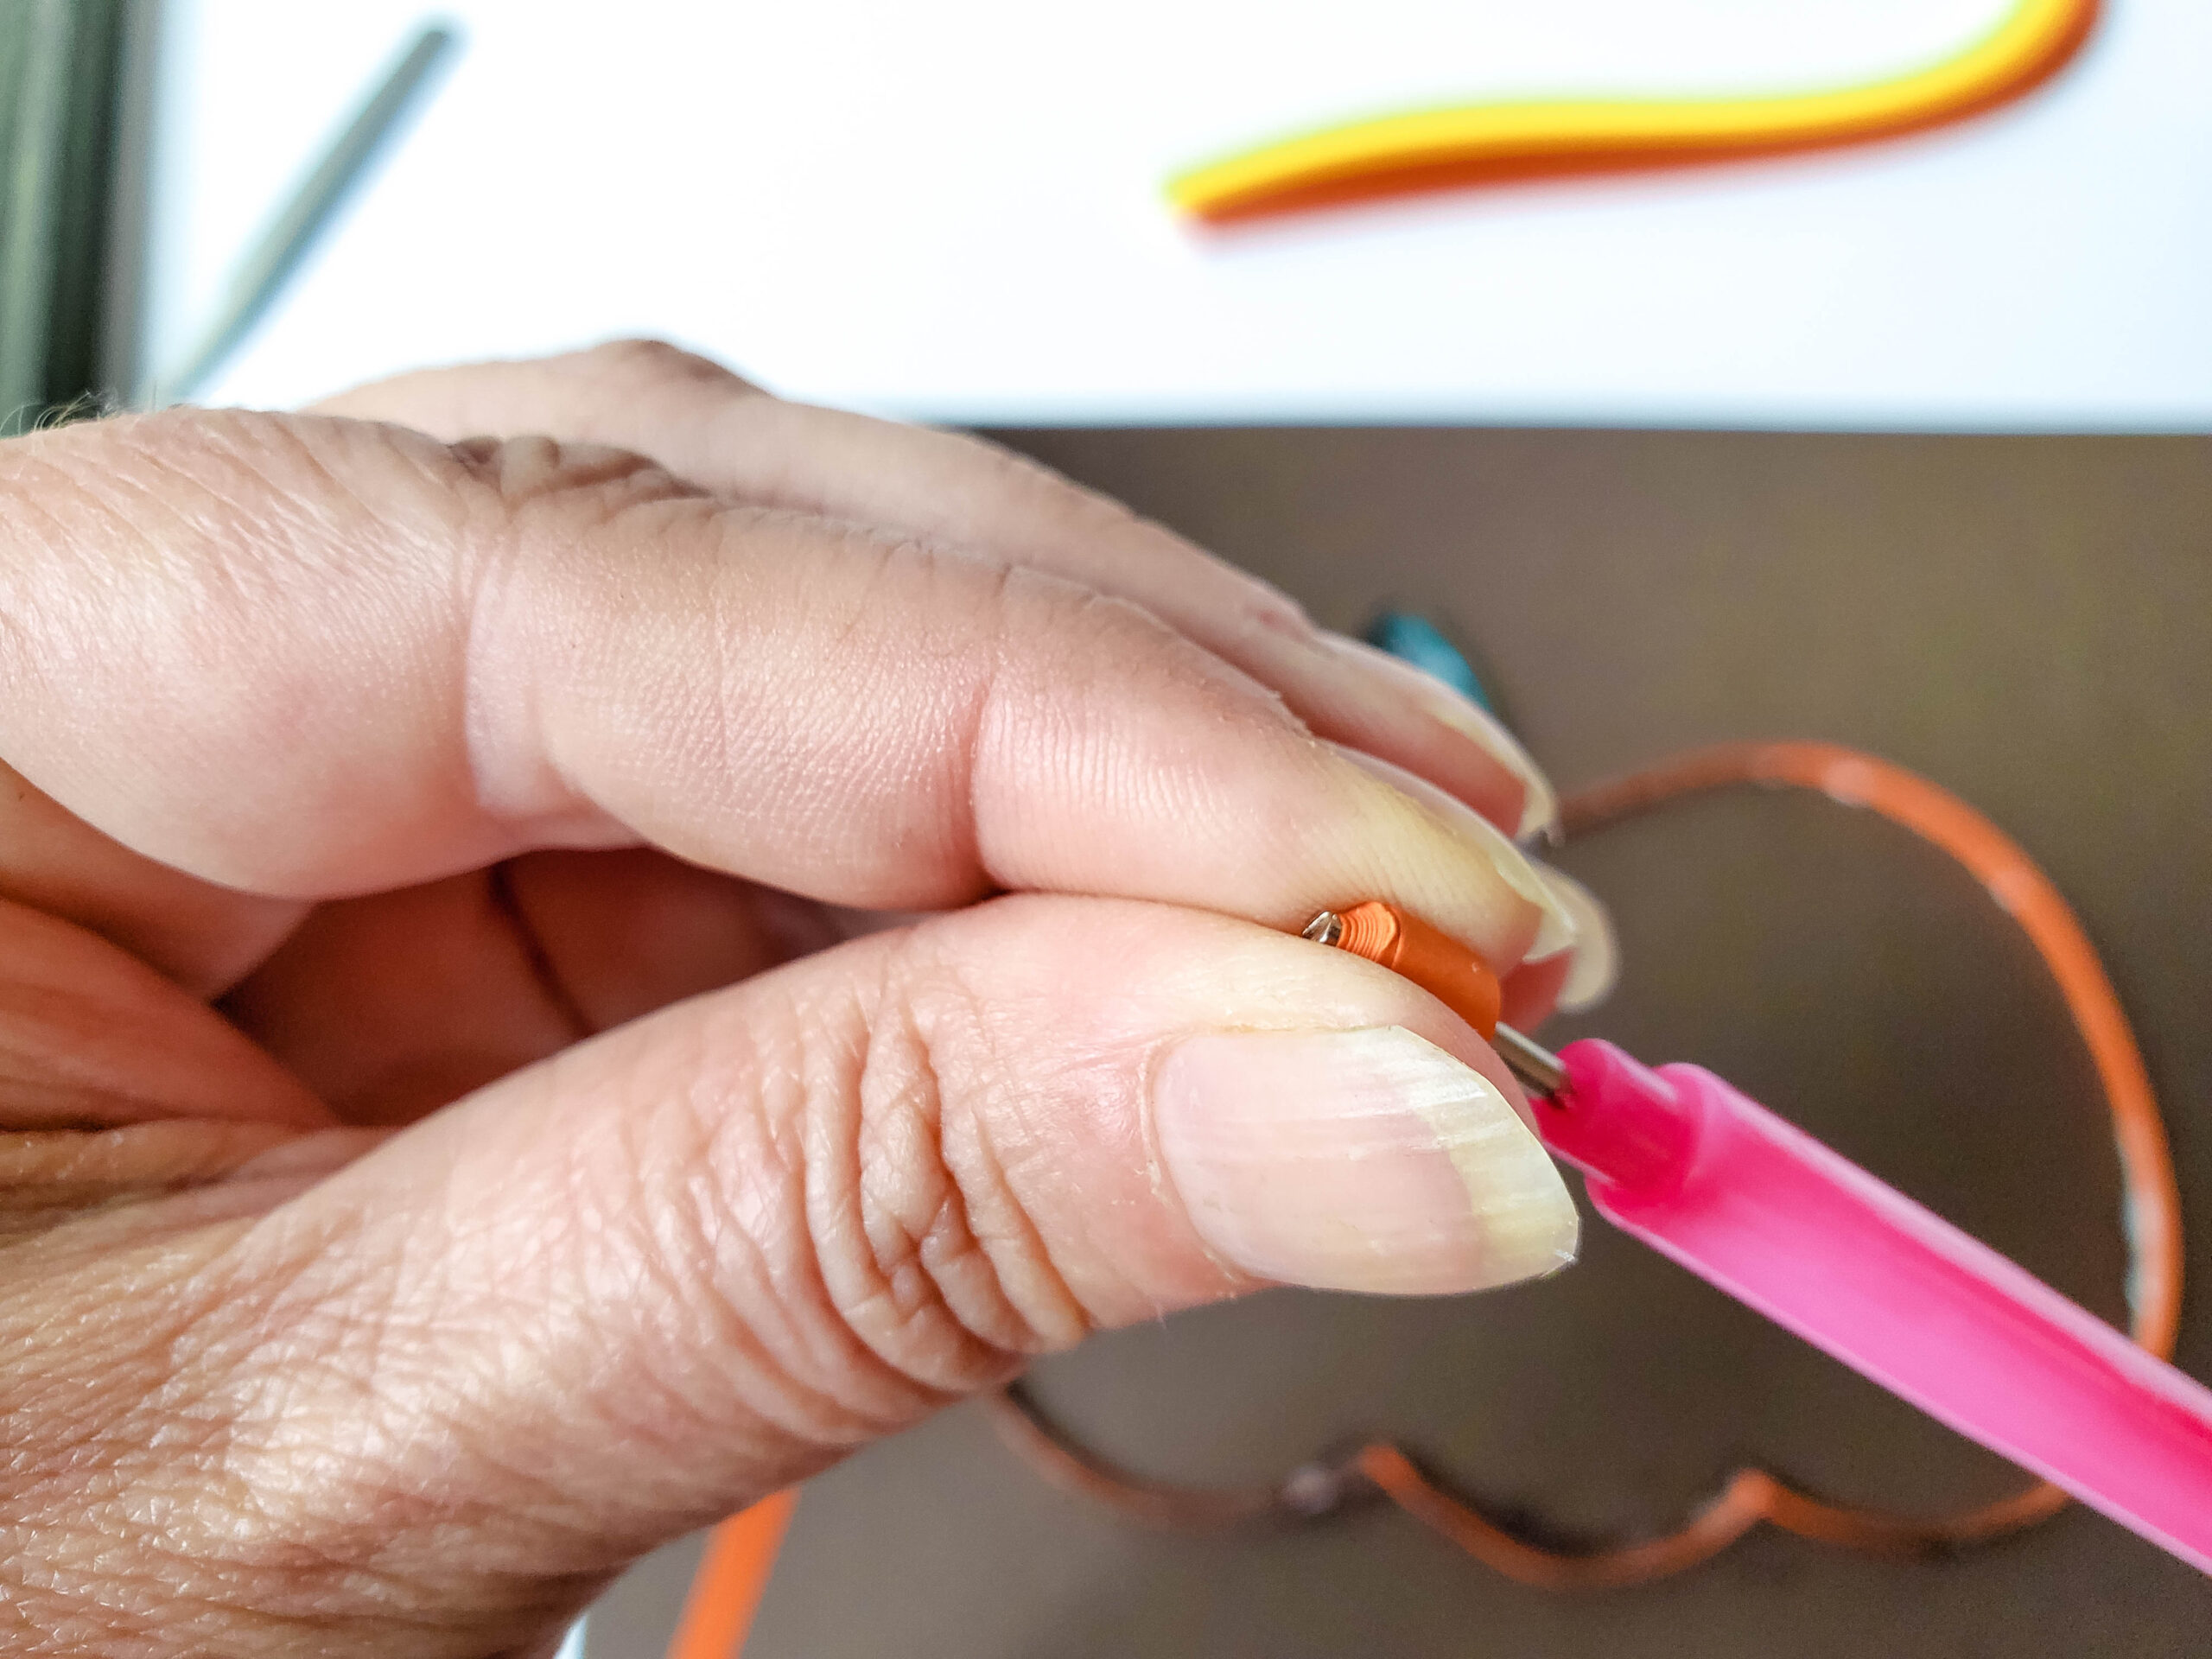
6. Now it’s time to start quilling the paper! Using the paper quilling pen, place one end of an orange paper strip inside the tool, then start rolling until you come to the end of the paper.
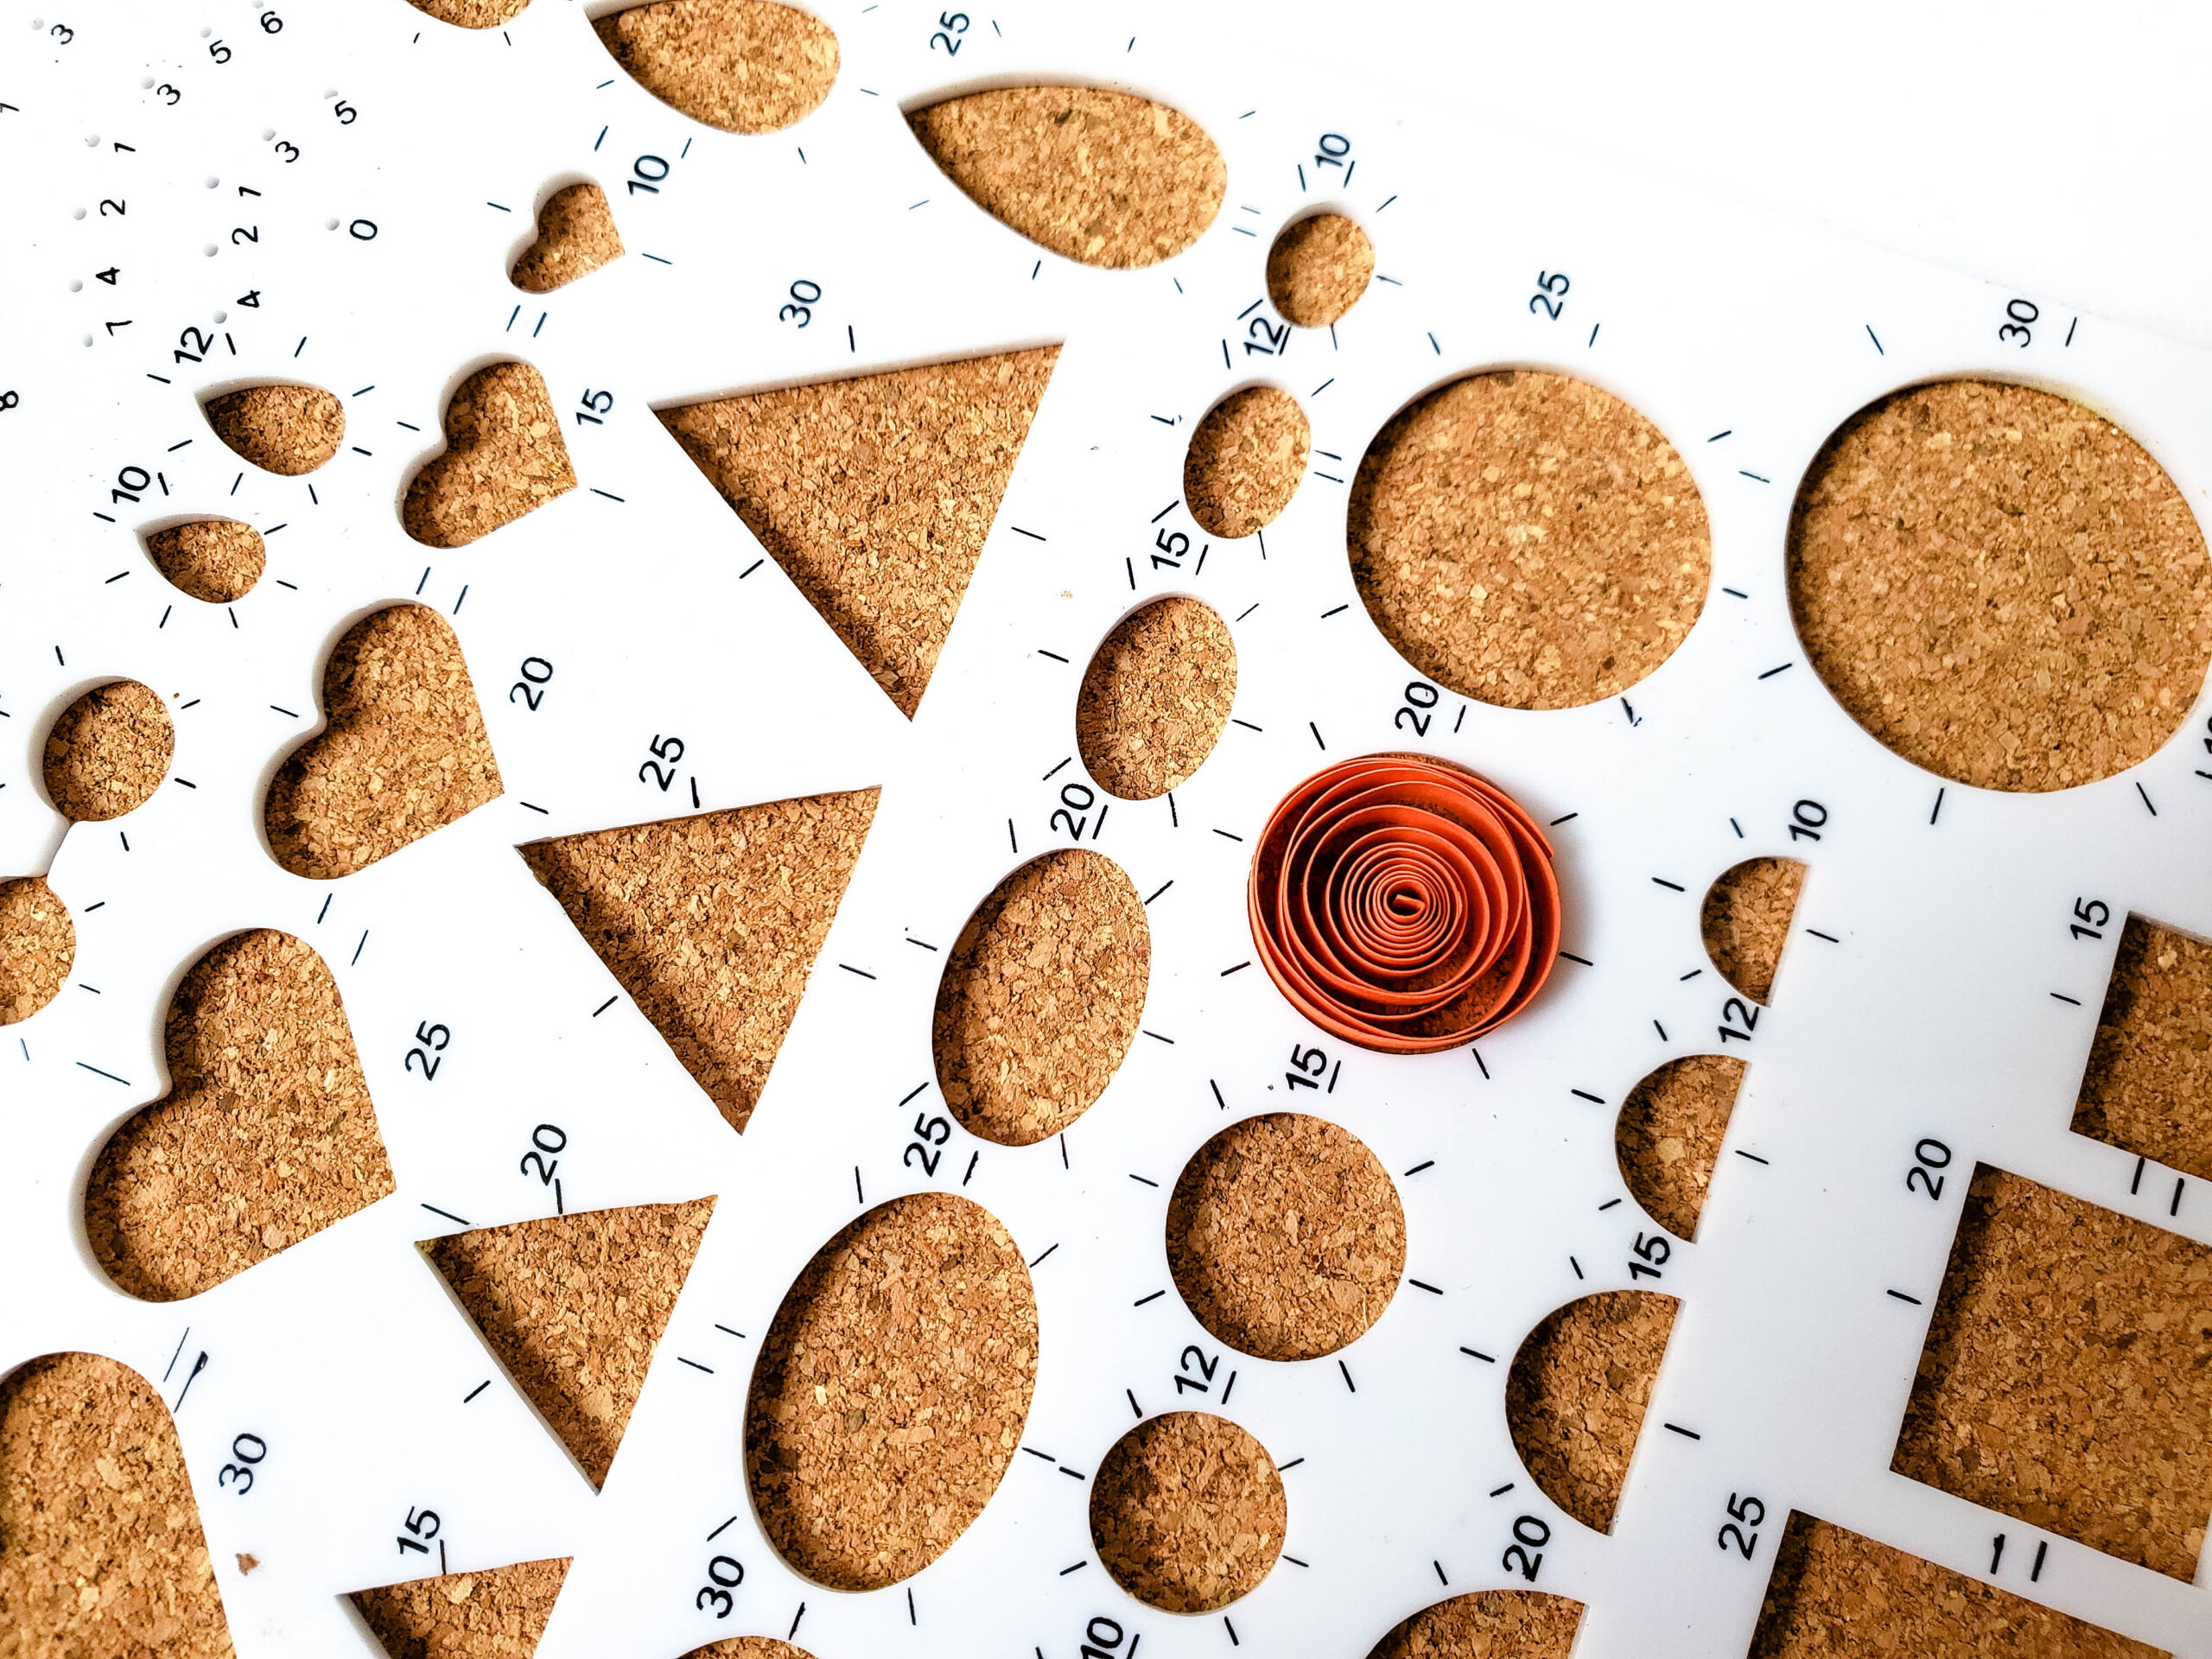
7. Gently pull the paper off the quilling pen, and place it into the #20 circular hole in the quilling board. Push down gently with your finger until it forms the correct size/shape.
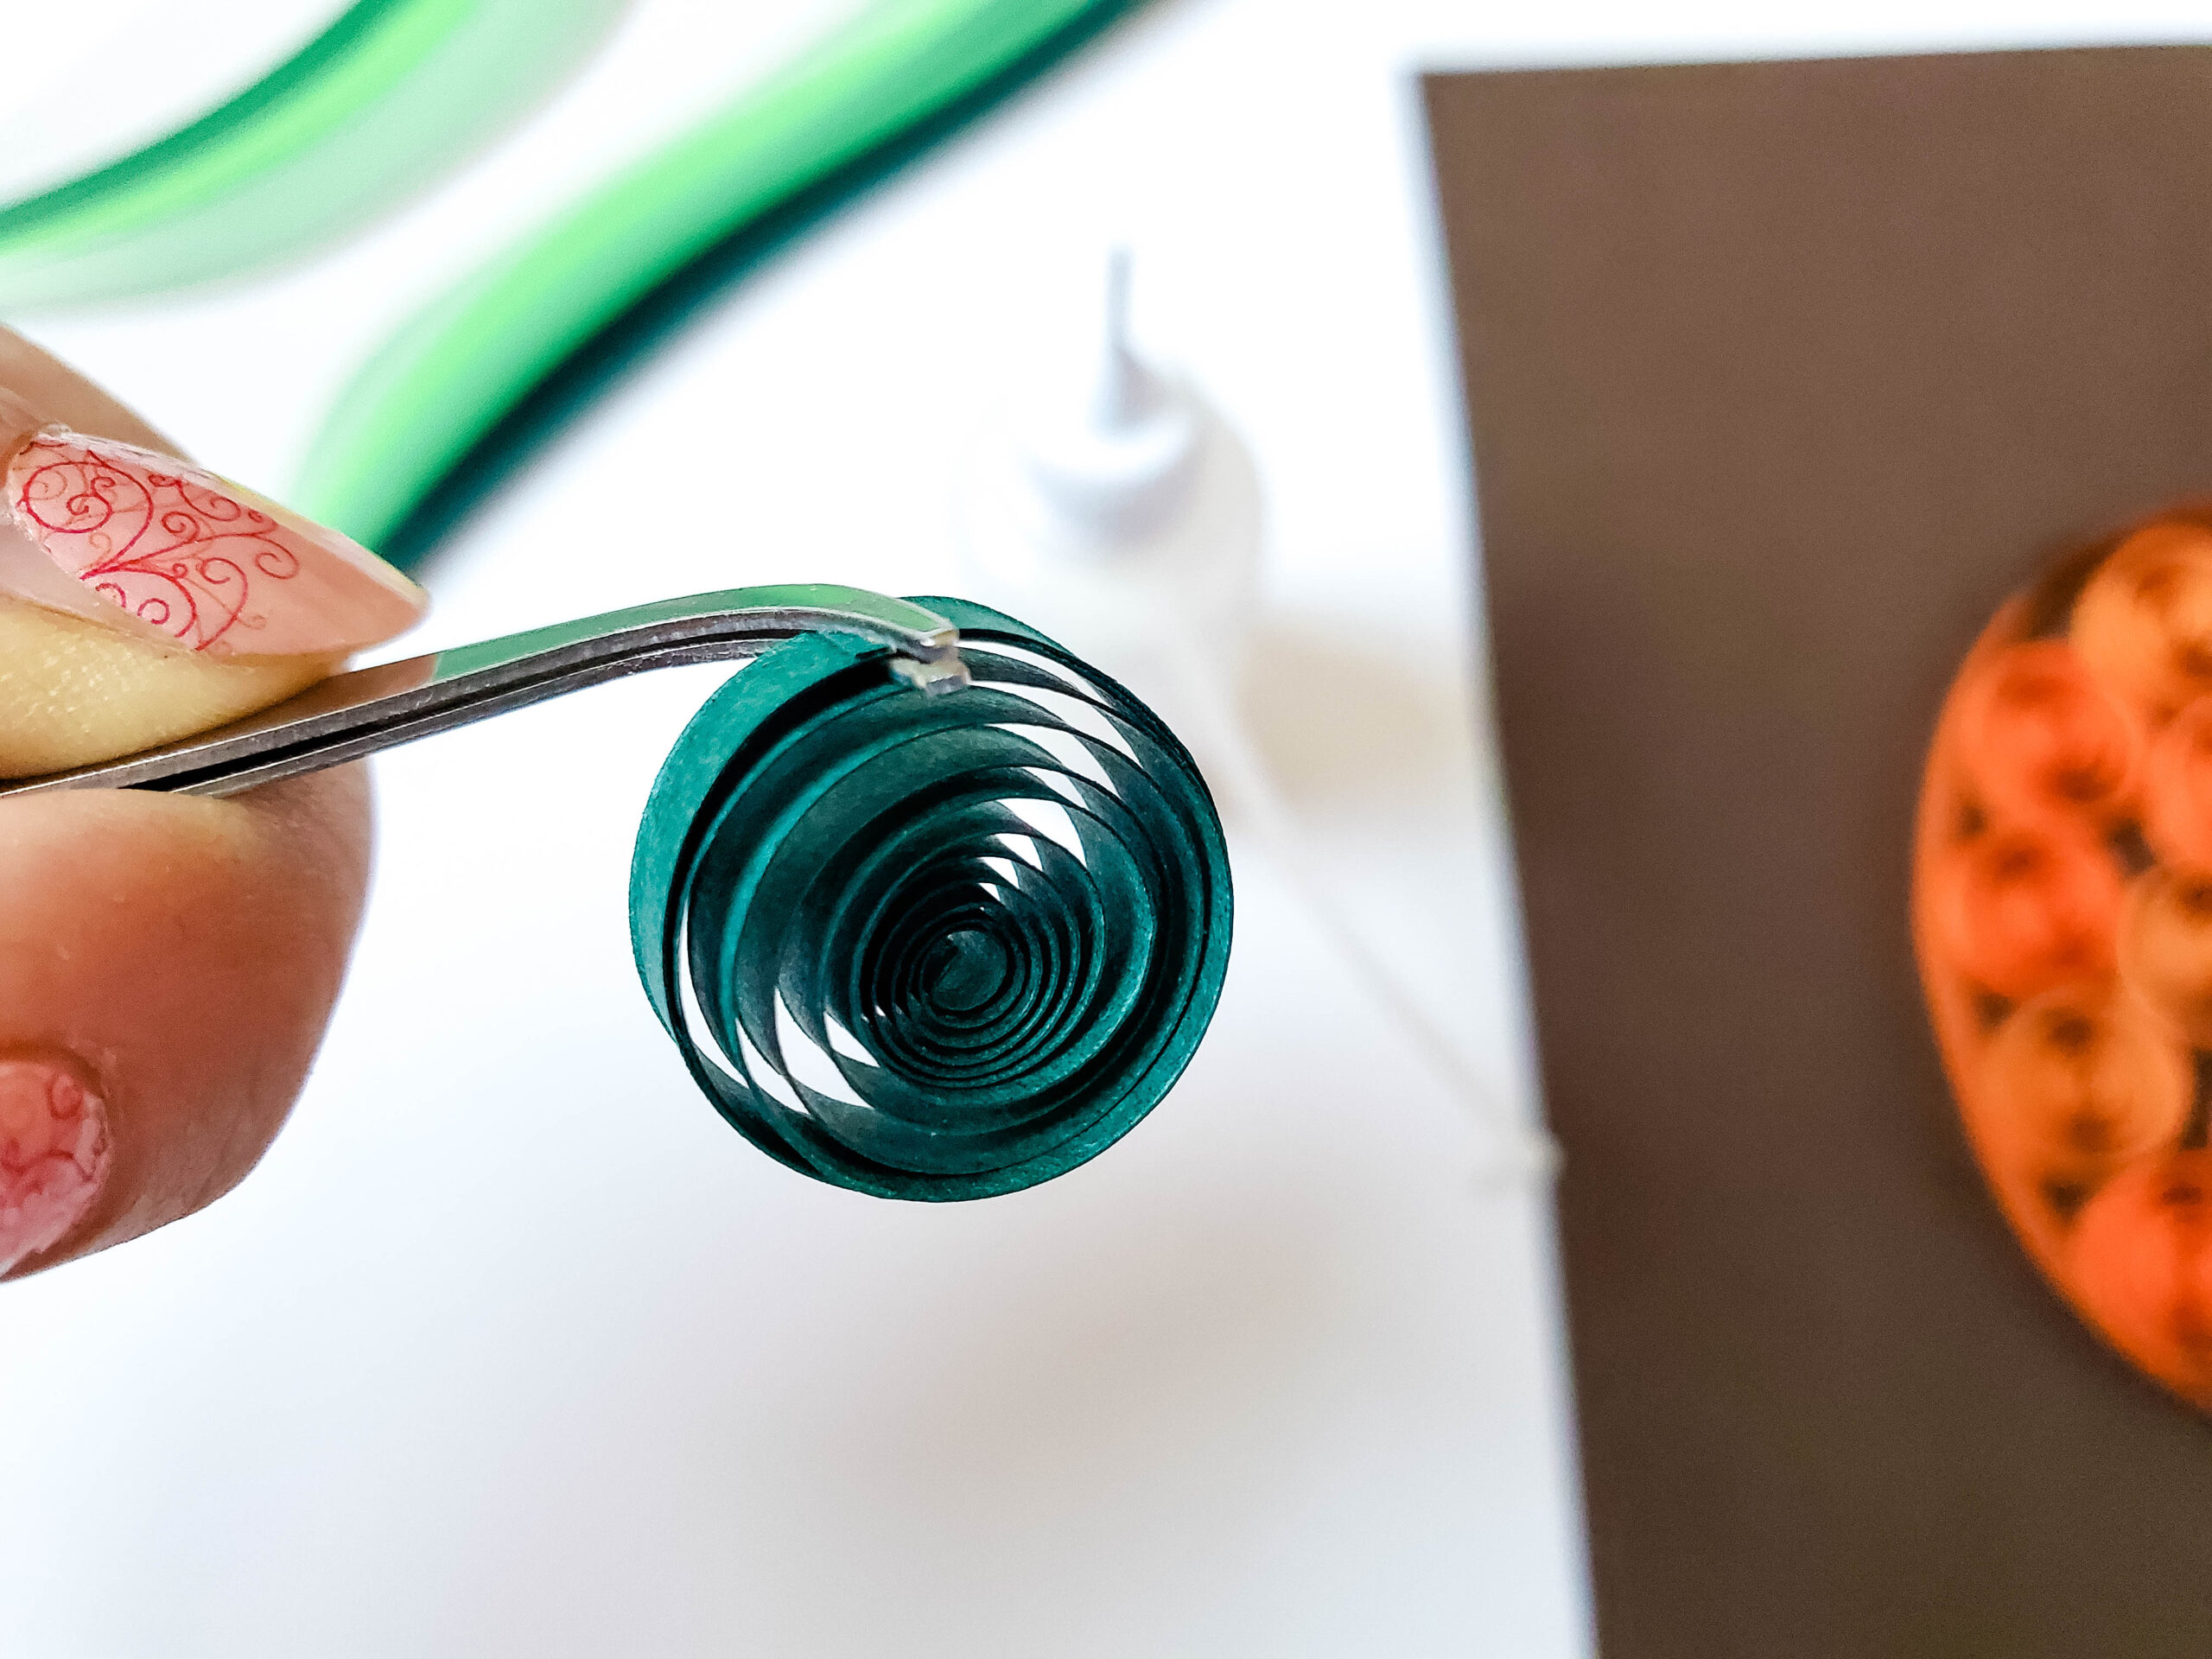
8. Gently grab your quilled paper strip where the end of the strip is with your tweezers.
9. Apply a small amount of glue to the end of the paper strip, and using your tweezers, attach and hold it for a few seconds.
10. You will repeat this quilling process until you run out of the darkest 3 colors of orange paper strips, and two strips of the second darkest green.
11. Once all of your paper is quilled, you will arrange them into your pumpkin however you like. For this one, I didn’t do a specific design, rather I just tried to get the 3 shades all over, making the entire pumpkin look blended.
12. You will apply a small dot of glue in 3 areas of the back of each quilled circle, then adhere it to the cardstock.
13. Repeat steps 11 and 12 for the stem.

14. Move the glass from your frame and place your cardstock quilled pumpkin art inside. You may replace the glass behind the cardstock if you’d like.

Let me know if you make the paper quill pumpkin!! I want to know how it turned out and see pictures!
More Pumpkin Crafts To Make This Fall!!!
Now, for even more pumpkin crafts you can make this fall!!! See them all below!
Rae Dunn Pumpkin DIY Farmhouse Fall Decor
Rae Dunn Pumpkin DIY Farmhouse Fall Decor: Who doesn’t LOVE Rae Dunn??? These DIY pumpkins are SO cute and perfect for decorating your home for the fall!

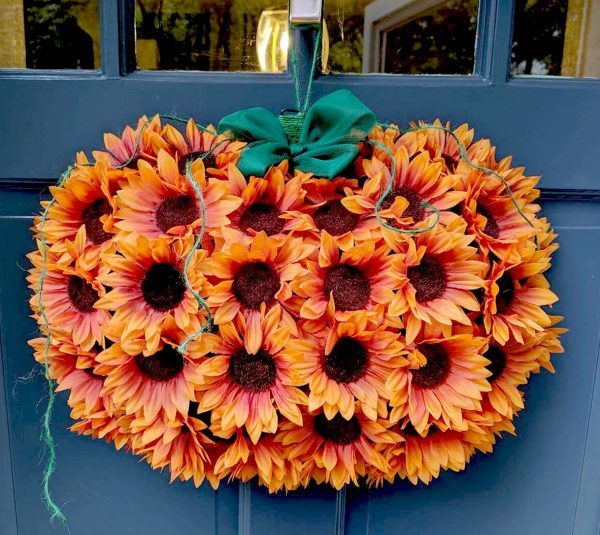
Sunflower Pumpkin Door Wreath
Sunflower Pumpkin Door Wreath: A beautiful pumpkin door wreath made with sunflowers! Click that link to learn how to make it!
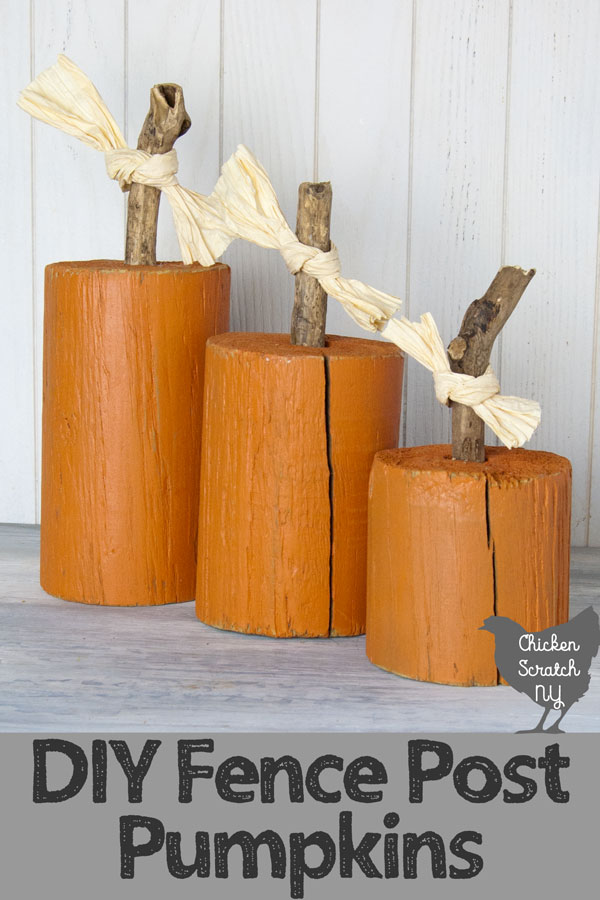
Fence Post Pumpkins Decor
Fence Post Pumpkins: I love these! Made from a fence post and turned into a fall pumpkin! So clever! Click that link to learn how to make this!
DIY Pumpkin Mason Jar Craft
DIY Pumpkin Mason Jar Craft: You can make these adorable pumpkin mason jar crafts with just a few craft supplies.

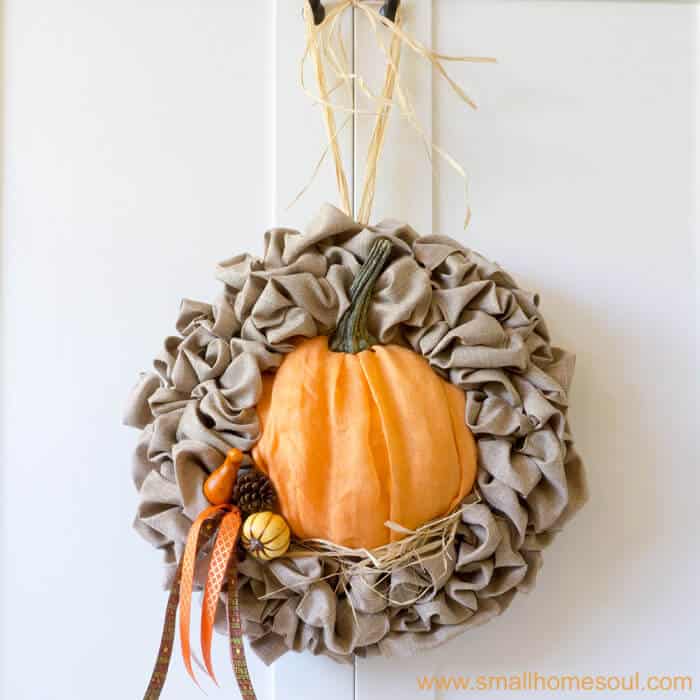
Fall Pumpkin For Your Door
Fall Pumpkin for Your Door: This is made with polyester batting, a scarf, and a few other items from around your home!
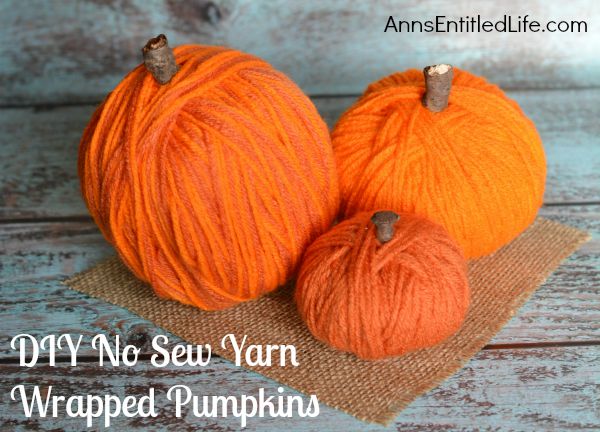
Yarn Wrapped Pumpkins
Yarn Wrapped Pumpkins: These No-Sew Yarn Wrapped Pumpkins are really easy to make, require no special crafting skills, and are totally adorable!
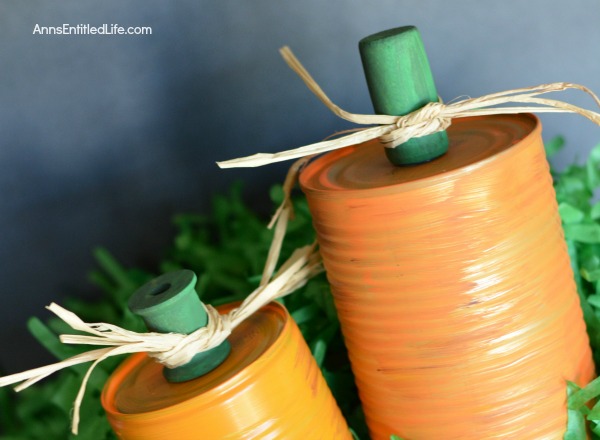
Tin Can Pumpkins Craft
Tin Can Pumpkins Craft: A cute way to upcycle your soup, vegetable, and fruit cans into a darling autumn craft.
DIY Pumpkins with Metallic Acrylic Paint
DIY Pumpkins with metallic acrylic paint: These are plastic pumpkins that are simply painted!

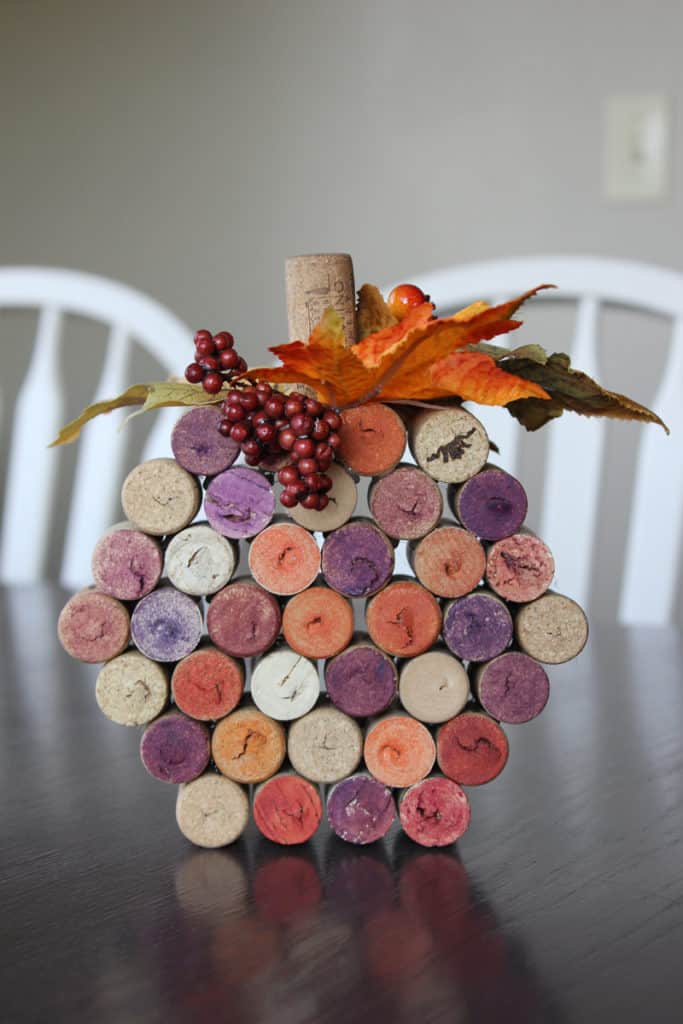
Wine Cork Pumpkin
Wine Cork Pumpkin: If you have a bunch of wine corks sitting around, here is a great fall craft for you to make!
Reversible Wood Slice Pumpkin
Reversible Wood Slice Pumpkin: This is so cute! There is a pumpkin on one side and a chalkboard on the other! Brilliant!

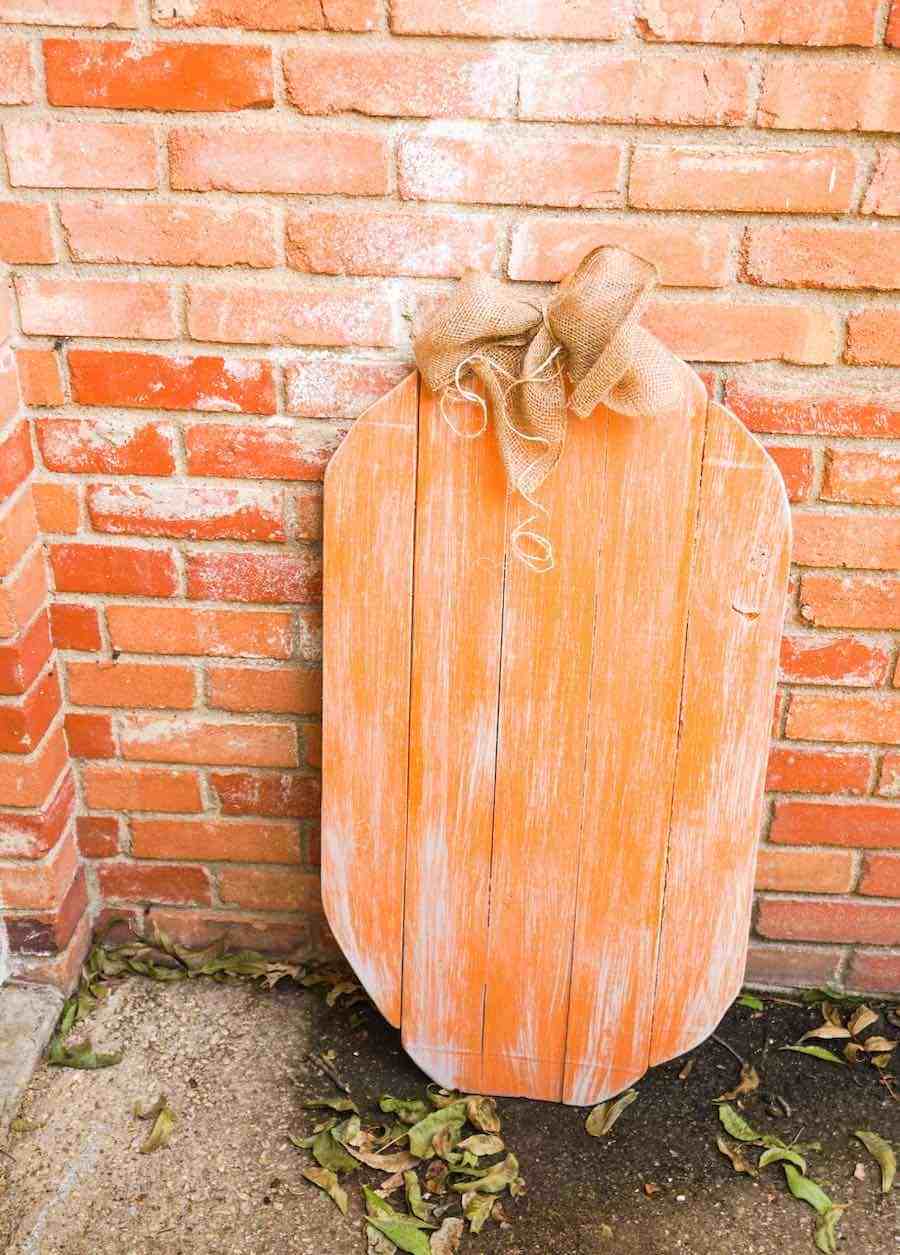
Wood Pumpkin Door
Wood Pumpkin Decor: This is an easy project that requires minimal tools. The hardest part is waiting for the paint to dry so that you can display your pumpkin!
DIY Yarn Pumpkins For Fall
DIY Yarn Pumpkins for Fall: These Easy DIY Yarn Pumpkins Craft for Fall are great for decorating your mantle. Using yarn adds a soft, warm, cozy feel that is perfect for fall decorating.

DIY Wood Beaded Pumpkins
DIY Wood Beaded Pumpkins: A simple rustic autumn craft that would be perfect in any room of your home for the fall!

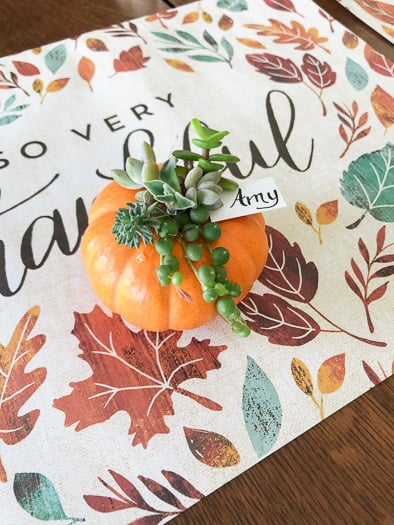
Succulent Pumpkin Arrangement
Succulent Pumpkin Arrangement: All you need for this project are pumpkins, succulents, and hot glue. Really that’s it!
DIY Concrete Pumpkins
DIY Concrete Pumpkins: These are so quick and easy to make! They’re the perfect fall home decor, and each one turns out unique and different!

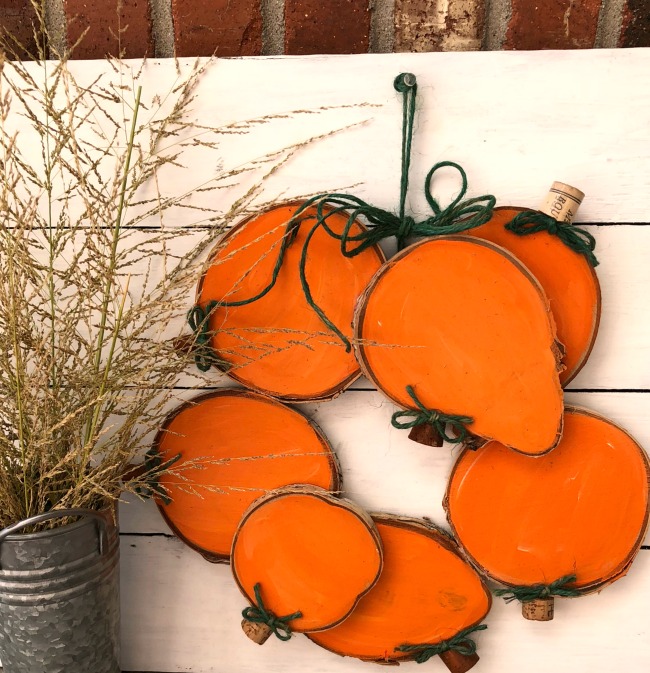
Wood Slice Pumpkin Wreath
Wood Slice Pumpkin Wreath: A really festive and fun fall decor piece for your wall or door!
Dry Erase Pumpkins
Dry Erase Pumpkins: These cute little pumpkins are perfect for the Thanksgiving table to mark where everyone is sitting!

DIY Rope Pumpkins
DIY Rope Pumpkins: This little holiday project doesn’t take ANY skill to complete and they are SO cute!

Rustic Pallet Pumpkins DIY
Rustic Pallet Pumpkins DIY: These are made from pallets that are taken apart! Super cute!

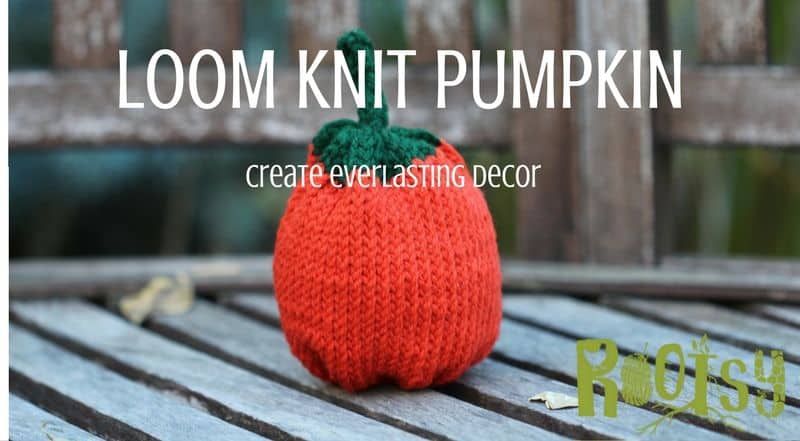
Loom Knit Pumpkins
Loom Knit Pumpkins: This is a soft, squishy pumpkin that can be used year after year as fall decor.
Beautiful DIY Dollar Store Velvet Pumpkins
Beautiful DIY Dollar Store Velvet Pumpkins: This is a simple no-sew tutorial for these glamorous velvet pumpkins! So pretty!

Dollar Tree Pumpkins
Dollar Tree Pumpkins: Here is a cute and festive way to give those dollar tree pumpkins a makeover for fall!

PIN IT!
