*This is a guest post. Thank you, Lisa, from DoughCuts, for sharing your yummy Doughcuts 4th of July Layered Cookie Cake Recipe!
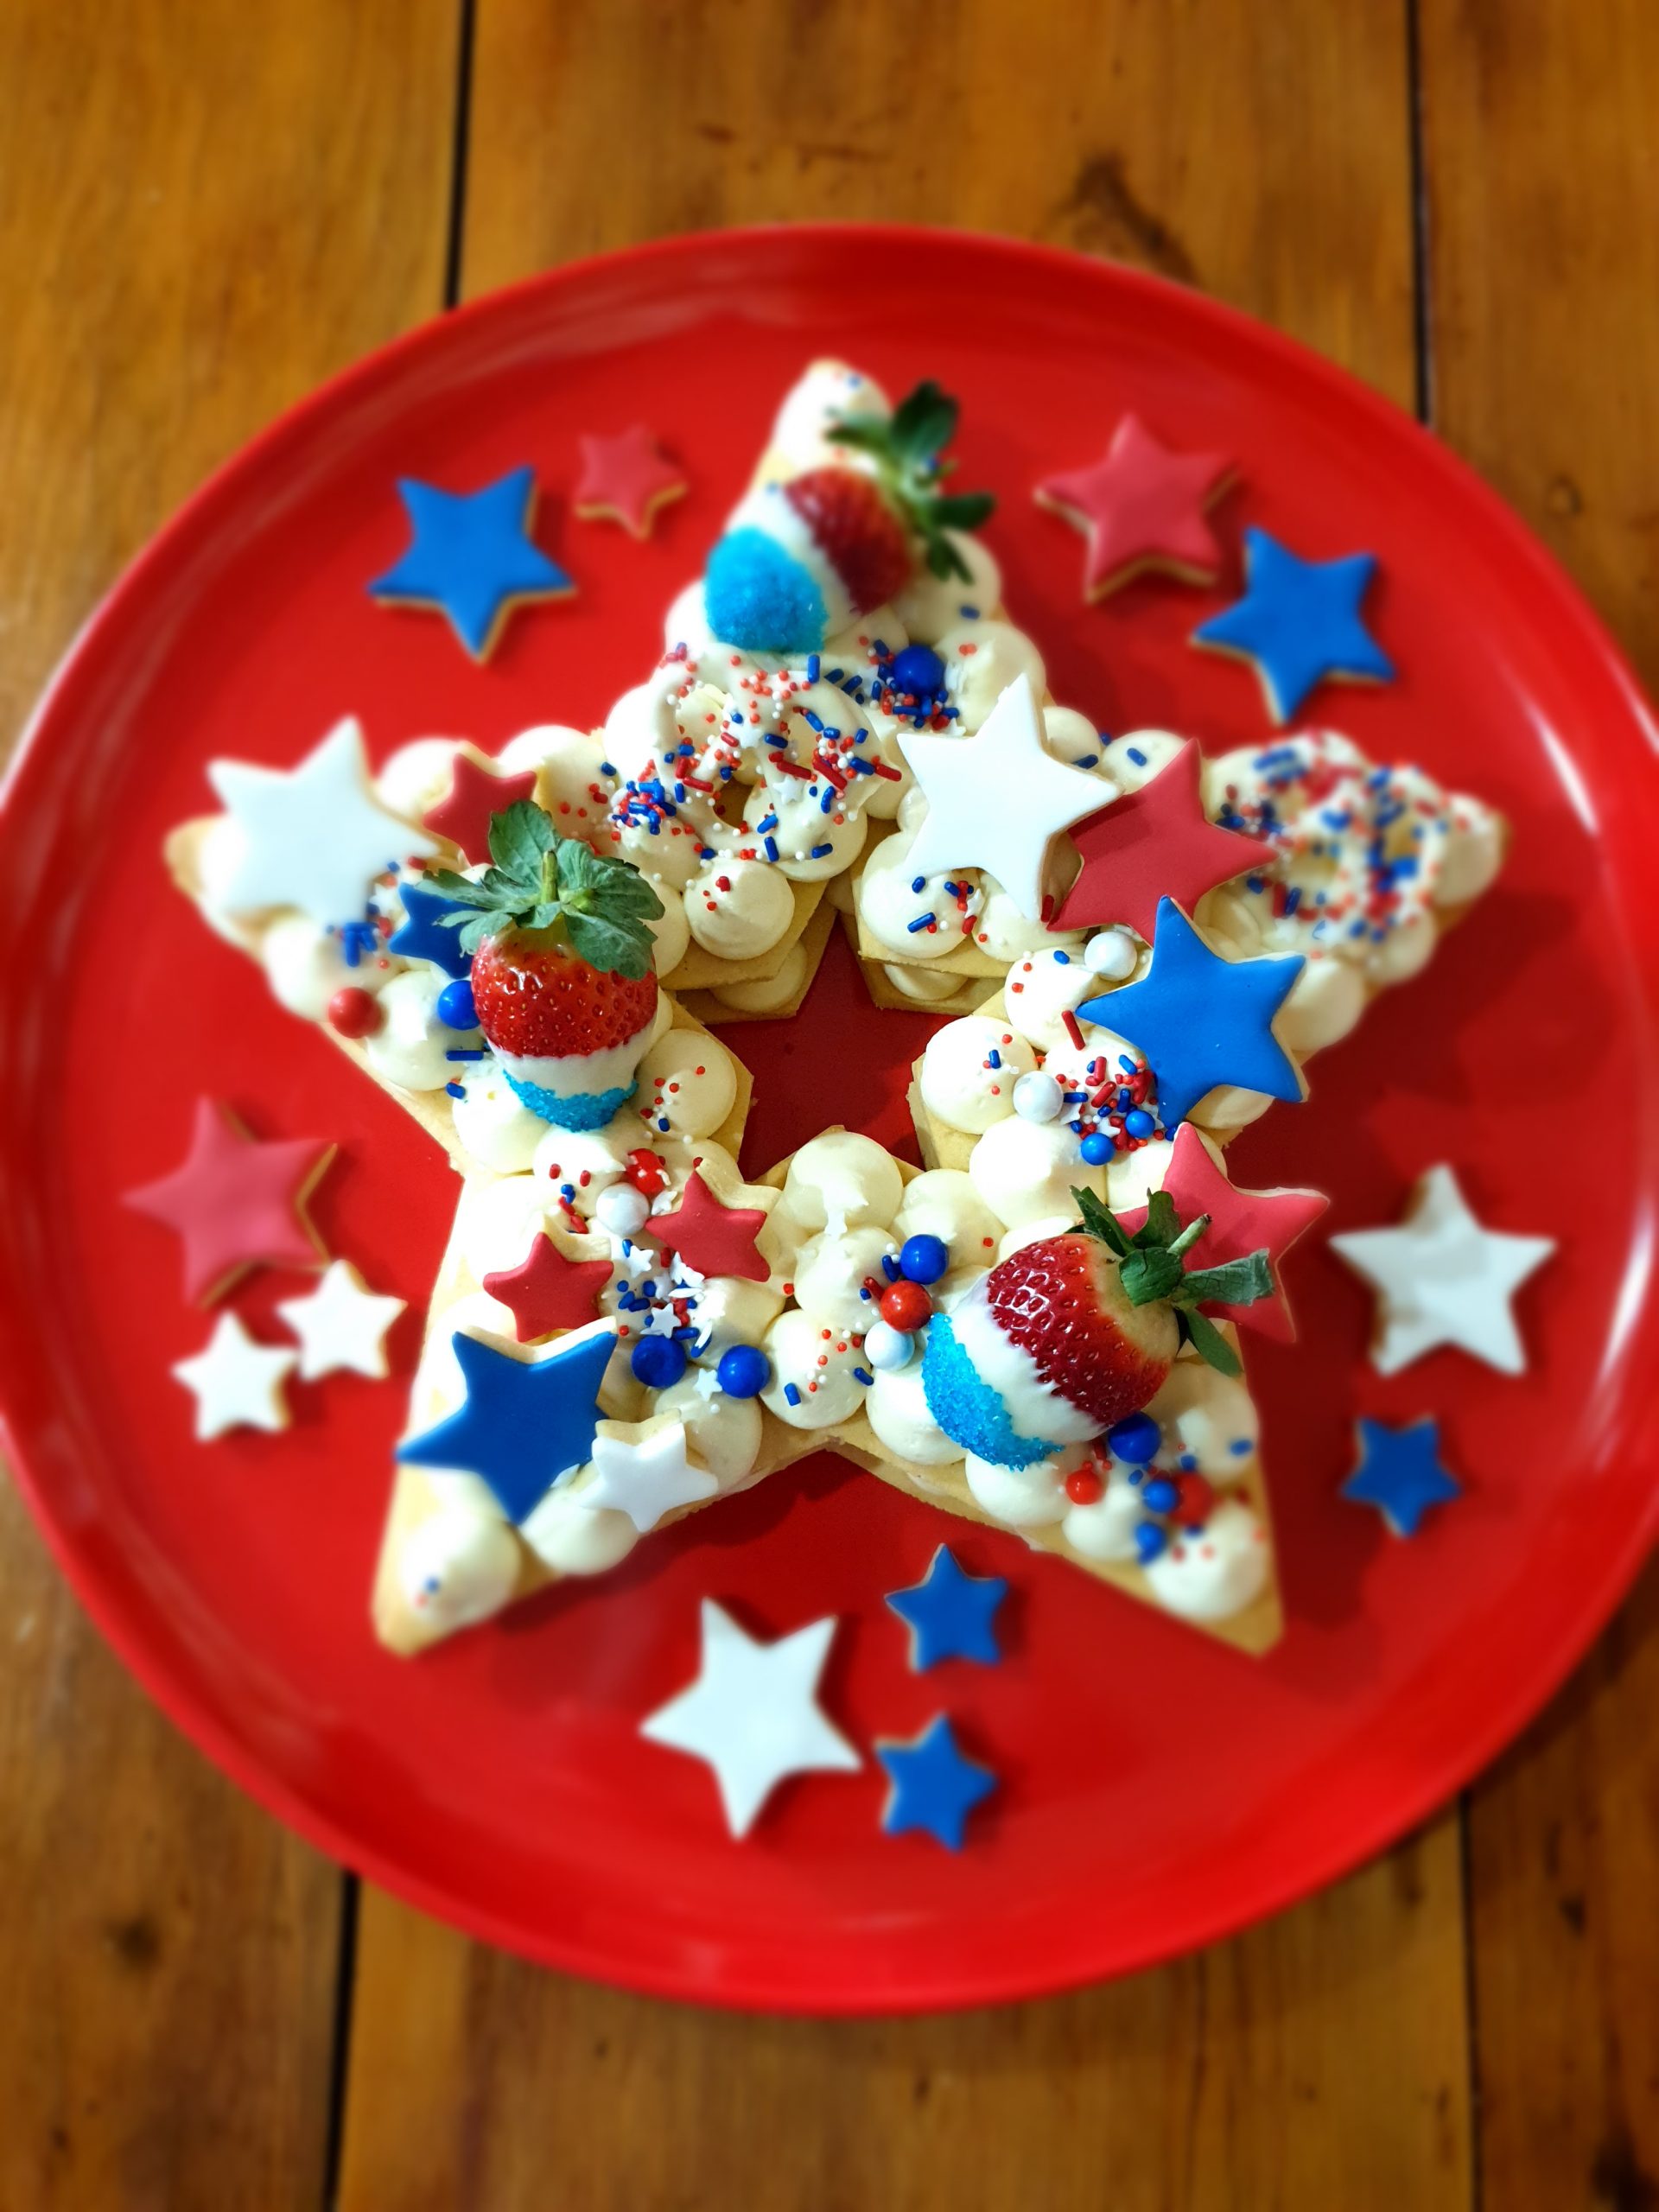
Celebrate the 4th of July and fireworks with the hottest new baking trend! Depending on where you’re from these layered cookie cakes could be called cream tarts, cream biscuits, or a cookie cake. Whatever you call them (we call them cookie cakes) I have my step-by-step instructions for you to make this gorgeous Doughcuts 4th of July Layered Cookie Cake!
*This post includes my affiliate links
They certainly look impressive but the truth is they are not difficult at all with the right tools and I’m here to help you. This guide is available in a free printable format also that we can email to you. OK, let’s go!
Doughcuts 4th of July Layered Cookie Cake
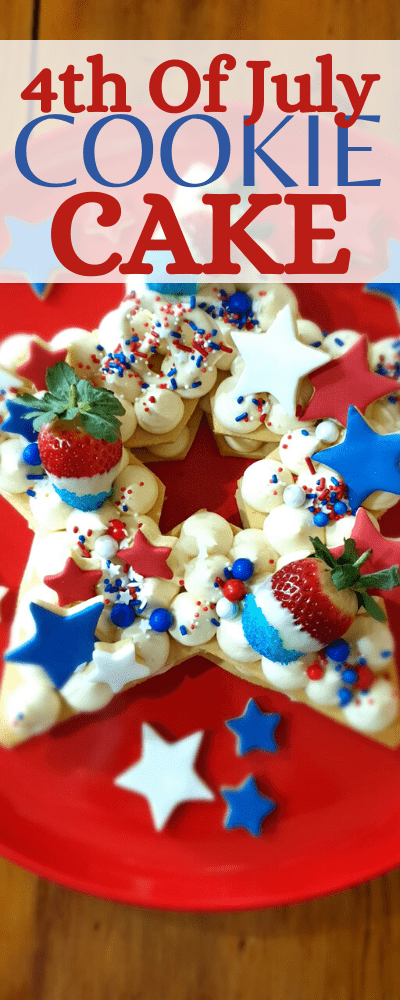
My Doughcuts 4th of July Layered Cookie Cake is made with 2 large star-shaped vanilla cookies, 11 inches tall, layered with a white chocolate cheesecake filling, and topped with small star-shaped cookies topped with fondant, chocolate strawberries, and chocolate pretzels, and sprinkles.
I’ll give you the instructions to copy mine but you can use whatever you desire to top your own cookie cake depending on what you have on hand and what you really like.
EQUIPMENT
- Electric mixer
- Silicone Baking Mats or Parchment Paper
- Cookie Sheets or Large Baking Trays
- Rolling Pin
- Star Shaped Cookie Template – our print at home star template is available here
- Small Star Cookie Cutters
- Round Icing Nozzle (I used 13mm / 1/2″ but other sizes work just as well)
- Icing Bag
- Glass or plastic microwave-safe bowl for melting chocolate
In addition to the cookie and cheesecake filling recipes we also need these ingredients:
- Sprinkles in the 4th July theme
- Blue sprinkles or sanding sugar (optional, you could use the 4th July blend instead)
- White Fondant
- Royal blue and red food colors
- Strawberries
- Pretzels
STEP 1: MAKE YOUR STAR TEMPLATE
You will need to make a large star cookie template. I used our print-at-home star template to make my 11″ star-shaped cookies. You can print our templates yourself on your home printer using your regular paper.
This saves time and frustration in not having to hand draw a perfect star shape. After printing and assembling the template I traced it onto parchment paper so that I could reuse it on both of my star cutouts. I will keep my assembled template for future cookie cakes. I’m thinking it will be perfect for Christmas time also!
STEP 2: VANILLA COOKIES
A printable version of our vanilla cookie recipe is available here.
INGREDIENTS:
250 grams butter, softened
120 grams caster (superfine) sugar
2 teaspoons vanilla extract
2 eggs
4 ½ cups plain flour, sifted
½ teaspoon baking powder
½ teaspoon salt
METHOD:
In the bowl of an electric mixer cream together the butter, sugar, and vanilla. Add the eggs and mix until well combined. Add the sifted flour and baking powder as well as the salt and mix just until the dough comes together. If the dough is still sticky add a little more flour until a nice smooth dough forms.
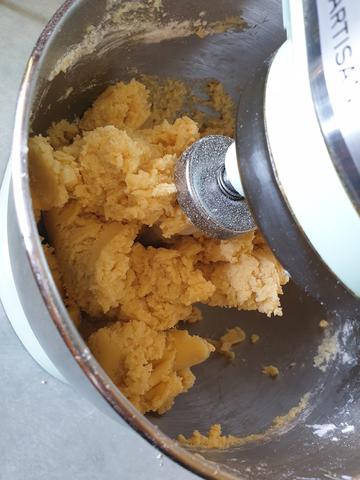
*After the cookie dough is made roll it out on 2 silicone baking mats or parchment (baking) paper, so you don’t have to transfer the large cookie shapes later, to approximately 5mm thick and spread it far enough to cut out the large cookie shapes later.
*Refrigerate for at least 30 minutes to firm up the dough to make cutting out easier. TIP: If using silicone baking mats roll the dough out to the edges like in the photo below as that is usually the size of our cookie cake templates.
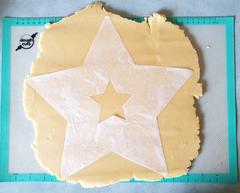
*Place your cookie cake template carefully on top of the first rolled-out dough and cut out the shape using your plastic cookie cake cutter tool or a blunt butter knife. Take your time and keep the blade as upright as you can so that the edge of the cookie is cut straight.
*After cutting around the outer edge and inner edge (if you want the inside removed also for some shapes) carefully lift off the cookie dough away from the cutout shape. Repeat with the second rolled-out dough.
*Slide the baking mats with the cookies on top onto a cookie sheet or baking tray and put the cookie cutouts back into the fridge to chill while the oven heats up for at least 15 minutes. This will help the cookie to keep its shape when baked.
*Heat oven to 160°C (325°F) and bake for 20-25 minutes or until cooked. Take the cookies out of the oven and leave the cookies on the trays to cool completely. Large cookies can be difficult to move without breaking, especially when they are warm. I usually make mine the day before I want to assemble my cookie cake and leave them out overnight on the cookie trays to cool.
STEP 3: TOPPERS – SMALL STAR COOKIES
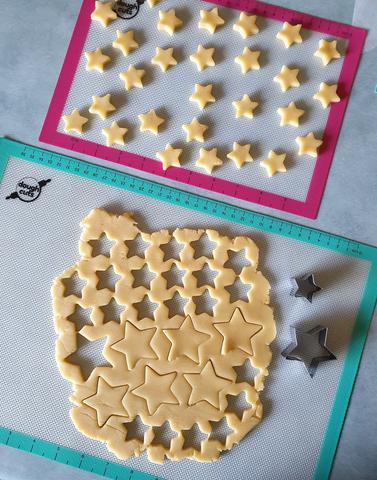
Roll out the leftover dough from step 1 and cut out small star-shaped cookies using cookie cutters in different sizes. I used 3cm and 4.5cm star-shaped cookie cutters. You will have enough leftover dough to create a lot of small star cookies so you can serve the extras along with your cookie cake.
The small stars will take 8-10 minutes to cook in the oven and can be cooled on a cooling rack.
*Once the small star cookies are completely cooled you can color some fondant to top your cookies with. I used white fondant and colored 2 small portions of it with royal blue and red food color.
*After coloring it I rolled it out (white, red, and blue fondant) and cut it out with the same star cookie cutters used to make the small cookies, and attached the fondant to the cookies.
Tip: I just dab a little tiny bit of water onto the back of the fondant and it sticks it to the cookie. Let this set on a cooling rack before storing it in an airtight container if you aren’t going to use them right away.
STEP 4: CHEESECAKE FILLING
A printable version of this recipe is here. In the printable version I use 250 grams of white chocolate however below I use 350 grams and we use some of the melted chocolate on the pretzels and strawberries.
INGREDIENTS:
500 grams cream cheese, softened
¼ cup caster sugar
1 cup thickened cream
350 grams white chocolate – 250 g for the cookie cake and 100 g for toppers
METHOD:
*Place cream cheese, sugar, and cream into the bowl of an electric mixer and whip on low speed until combined. Increase to high speed and whip until the sugar has dissolved completely and the mixture is smooth and thick.
*Melt chocolate on medium power in the microwave, stirring every 30 seconds, until just melted. Take care not to overheat the chocolate or it will seize and have lumps in it.
Jump down to STEP 6 to make the strawberries and pretzels then add the remaining melted white chocolate to the cheesecake mixture.
*Pour melted white chocolate into cheesecake mixture and whip until combined.
*It is now ready to be piped onto your cookie cakes.
STEP 5: CHOCOLATE STRAWBERRIES
*Using the melted chocolate in step 5, dip each strawberry 2/3 the way into the melted chocolate and then dip them again 1/3 of the way into the blue sprinkles or sanding sugar.
*Set them onto a silicone baking mat or parchment paper to set. I only did about 7 chocolate-covered strawberries as I only wanted enough to top the cake with. You can always melt more white chocolate and make extra to serve with the cookie cake if you wish. They are delicious!
STEP 6: CHOCOLATE PRETZELS
Again using the melted chocolate in step 5, dip each pretzel into the chocolate and set them onto a silicone baking mat, and sprinkle with sprinkles of your choice.
I only did 6 or so pretzels as I only wanted enough to top the cake with. You can always melt more white chocolate and make extra to serve with the cookie cake.
If you don’t want to make these you can purchase chocolate-covered pretzels to make things much easier!
Back up to STEP 5, the cheesecake filling. The rest of the instructions were:
*Pour remaining melted white chocolate into cheesecake mixture and whip until combined.
It is now ready to be piped onto your cookie cakes.
STEP 7: ASSEMBLING THE LARGE COOKIES!
*Carefully slide one of your large star cookies onto a serving plate or board (that will fit into your fridge). Fill an icing bag, topped with a 13mm round nozzle with some of the cheesecake fillings, and carefully pipe it onto the cookie cake, like in this photo.
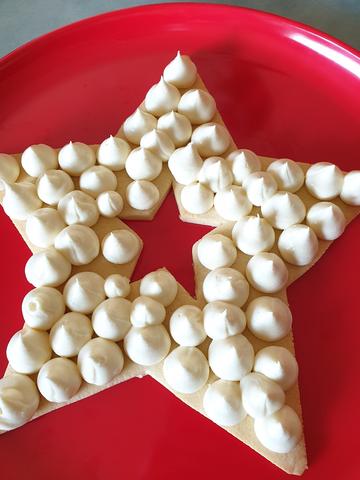
*Place the cookie cake in the fridge to chill for 20 minutes. The cheesecake filling is very soft until it has set in the fridge so a little extra care needs to be taken with it. Chilling it will help to add the second layer without it just squashing it all.
*Carefully place the second cookie on top of the first one that you piped and carefully pipe the remaining cheesecake filling on top. Place the cookie cake in the fridge again for 20 minutes.
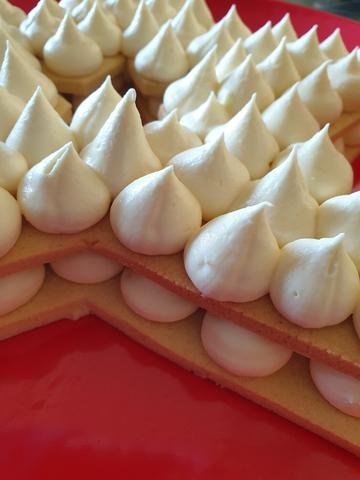
The cheesecake filling will not be set after 20 minutes, however, it will be set enough to decorate if you are careful with it.
STEP 8: TOP YOUR Doughcuts 4th of July Layered Cookie Cake
Get your strawberries, pretzels, cookies, and sprinkles ready to go.
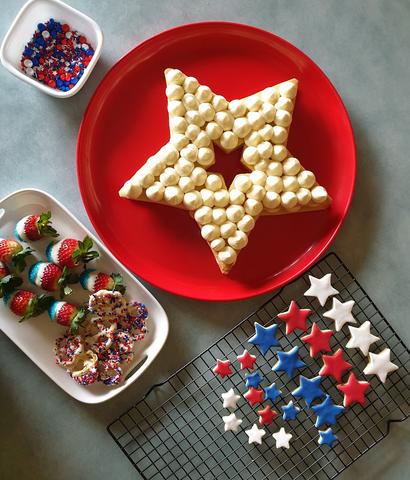
Place them carefully on top of the cookie cake and add sprinkles at the end. It is then ready to chill for at least an hour before serving, to allow the cheesecake filling to set. Get ready for the ooohs and aahs when you serve it!
There are endless ways you can decorate it to suit your style and I’d love to see your version of the Doughcuts 4th of July Layered Cookie Cake. Pair this cookie cake dessert with this yummy 4th of July hibiscus blueberry popsicles and you are good to go! YUM!
Happy baking!
Lisa
PIN IT!
Dana Rodriguez says
I love this! Thanks! I pinned it.