Have you ever wondered how to sculpt your face at home without having to go into a medspa and spend tons of money? If you are like me, you have. In this post, I will let you in on a little secret on how to sculpt your face at home in my step-by-step guide for beginners!
Facial sculpting is a technique that anyone can learn and do to enhance their natural features without expensive procedures.
Whether you’re looking to define your cheekbones, slim your jawline, or reduce the appearance of a double chin, mastering basic face sculpting techniques can transform your appearance.
Learning how to sculpt your face at home requires understanding the fundamentals of facial structure and applying the right techniques to create definition and contour.
Understanding the shape and bone structure of your face is key to sculpting effectively. Unlike traditional makeup techniques that only provide temporary results, using professional LED face sculptor tools delivers a more lasting and precise contouring effect.
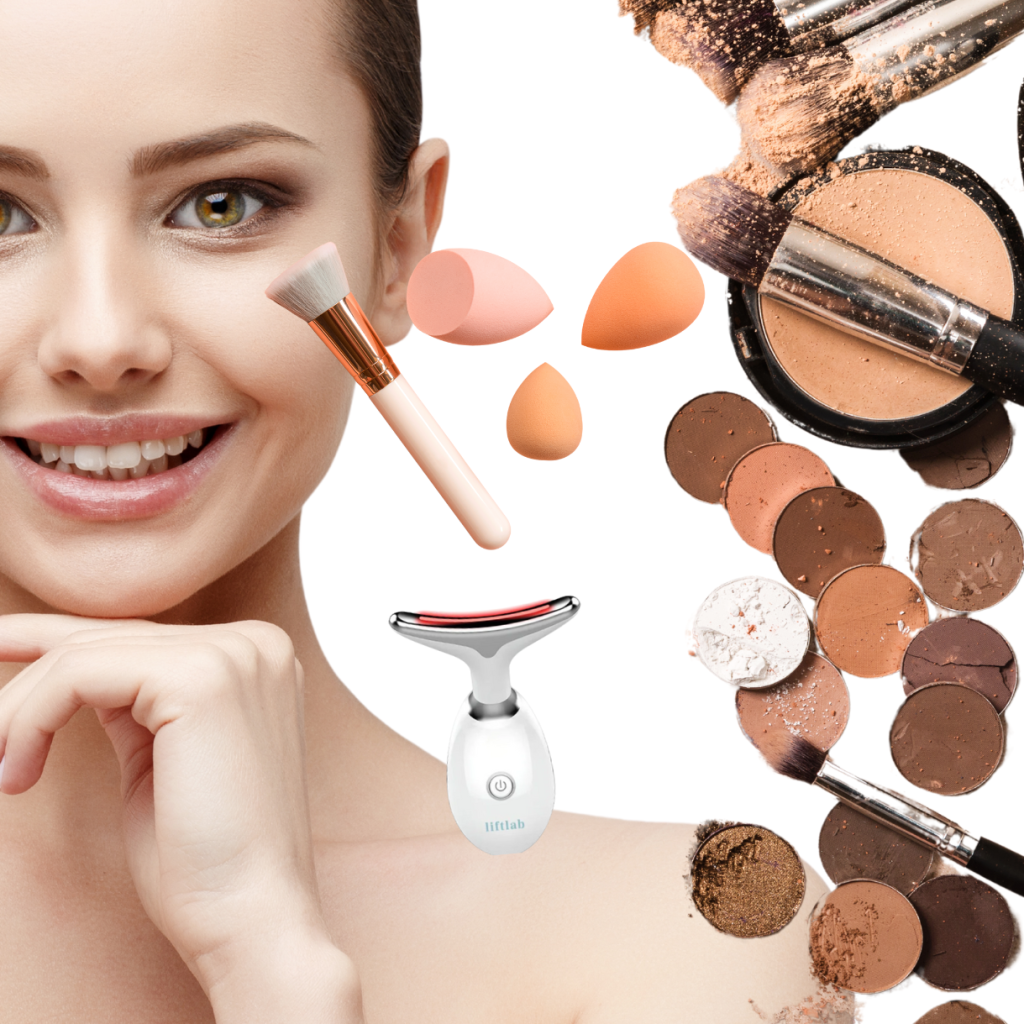
These devices work by stimulating the skin and muscles, providing a deeper, more natural definition compared to manual methods like facial massage.
With consistent practice and use, you can refine your features in a way that rivals professional treatments but at a fraction of the cost.
Most importantly, face sculpting isn’t about creating an entirely new look, but rather enhancing your natural features.
With practice and patience, even complete beginners can start to see noticeable improvements in facial definition and contour.
The techniques are simple enough to use in your daily routine but effective enough to make a meaningful difference in your appearance!
Key Takeaways:
- Face sculpting combines makeup techniques, facial massage, and specialized tools to enhance natural facial contours.
- Beginners should start with basic contouring principles before investing in advanced sculpting tools.
- Consistent practice and LED face sculpting tools can help achieve more defined facial features over time.
How to Sculpt Your Face at Home: Getting Started with Face Sculpting
Face sculpting is an accessible technique that can enhance your natural features without professional help.
The process begins with understanding your unique facial structure, gathering the right tools, and ensuring your skin is properly prepped.
Identifying Your Face Shape
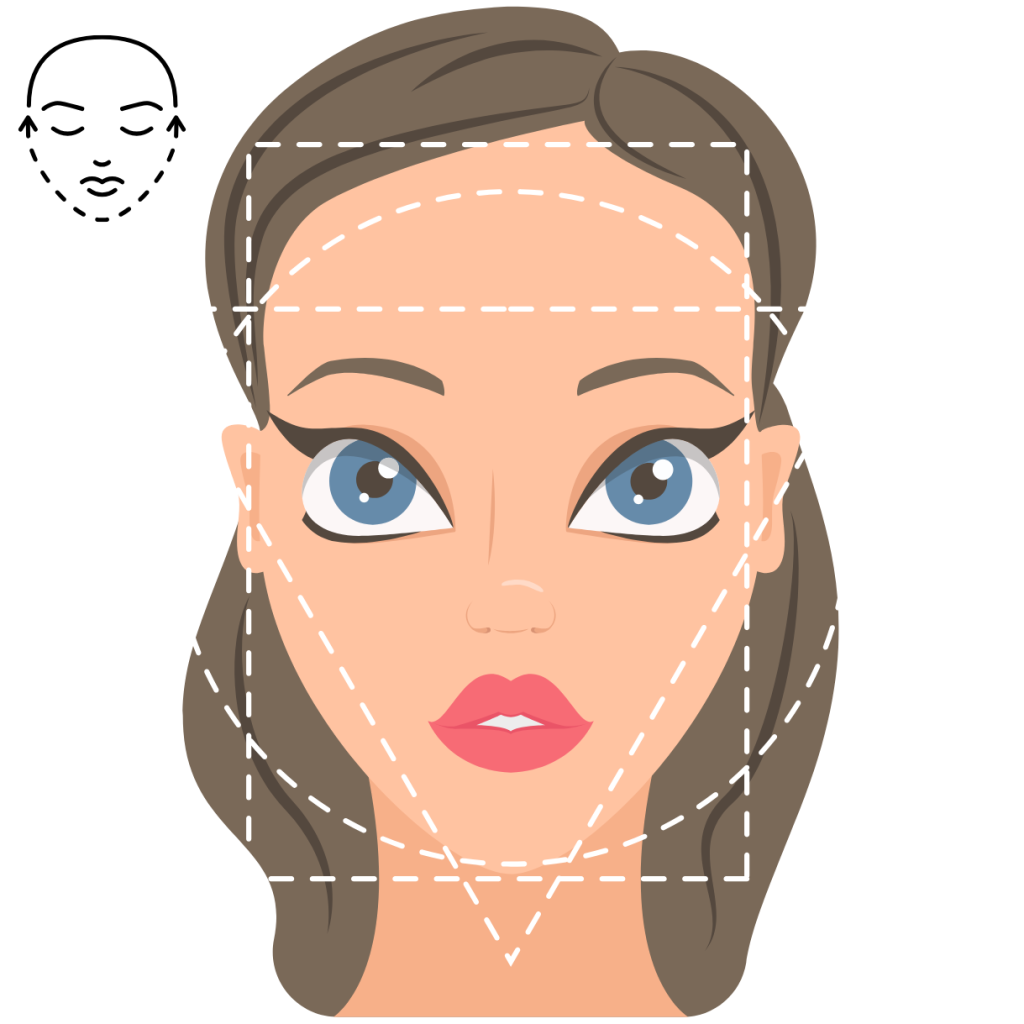
Before starting any sculpting work, determine your face shape as this guides where to apply products. Hold your hair back and examine your face in a mirror with good lighting.
Round faces have soft angles with cheeks as the widest point. Sculpting should focus on creating definition along the jawline and temples.
Square faces show a strong jawline with similar width at forehead and jaw. Soften corners by applying contour at jaw angles and temples.
Heart-shaped faces feature a wider forehead that tapers to a narrower chin. Focus sculpting on balancing the forehead width by adding definition to the lower part of the face.
Oval faces are considered balanced, with forehead slightly wider than the jaw and gentle curves. Minimal sculpting is needed, focusing mainly on subtle enhancement.
Your Sculpting Toolkit
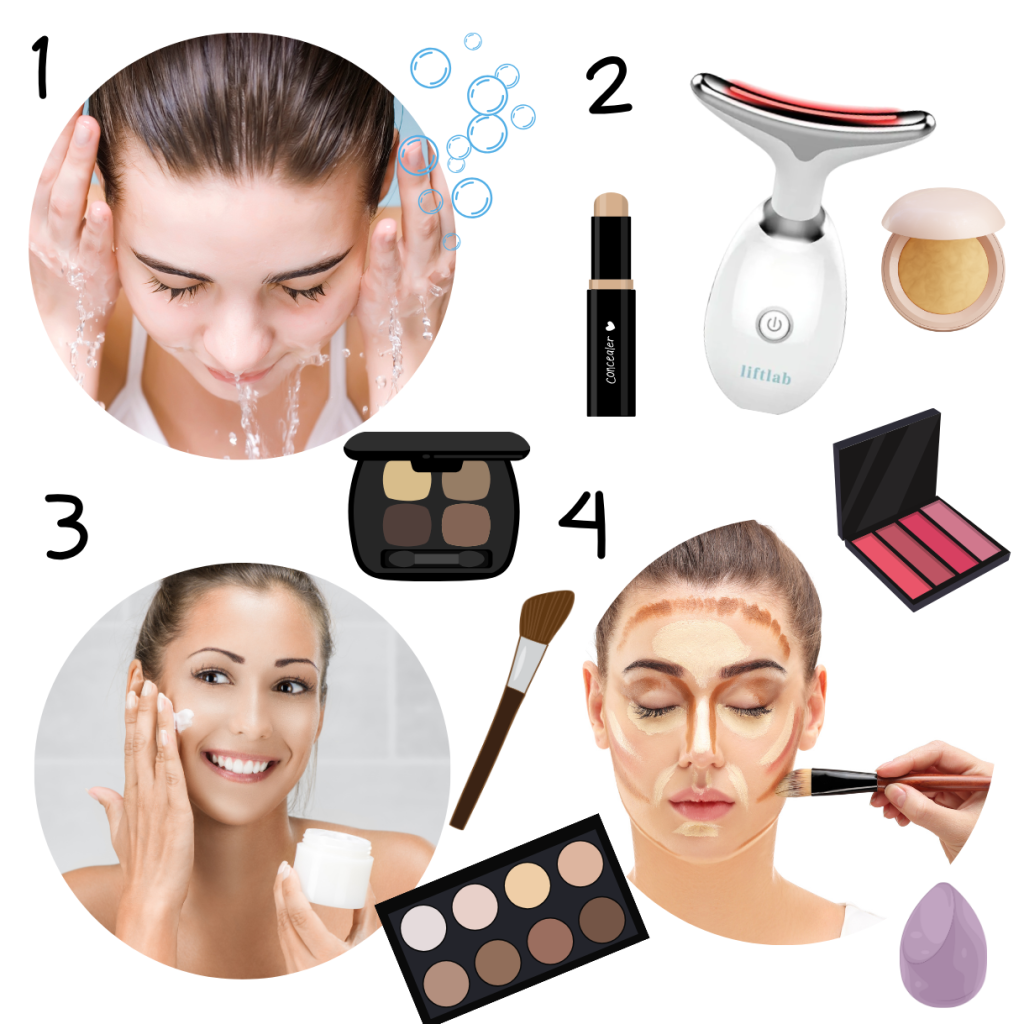
Effective face sculpting requires specific products and tools for best results.
Products:
- Foundation (1-2 shades darker than your skin tone for contouring)
- Concealer (1-2 shades lighter for highlighting)
- Cream contour or bronzer (matte finish works best)
- Highlighter for accentuating high points
Tools Needed:
- Quality blending brushes (angled brush for contour, fluffy brush for blending)
- Beauty sponge for seamless application
- Setting powder to lock everything in place
- LED Face Sculptor
Synthetic brushes work well with cream products, while natural bristles are better for powder formulations. Invest in mid-range tools that feel comfortable in your hand and wash them regularly.
Preparing Your Skin for Contouring
Proper skin prep ensures your sculpting products apply smoothly and last longer. Start with thoroughly cleansed skin.
Use a gentle cleanser appropriate for your skin type to remove any dirt or residue that might interfere with product application. Next, use your LED face sculptor for however long it says to use it for.
Apply a lightweight moisturizer and allow it to absorb completely before proceeding. Well-hydrated skin creates a smooth canvas for makeup application.
Follow with a primer focused on your skin’s needs—mattifying for oily areas, hydrating for dry patches. Primer helps products adhere better and extends wear time.
Wait 2-3 minutes between skincare and makeup application. This patience allows products to set properly, preventing them from sliding or pilling when applying contour products.
Contouring and Highlighting Techniques
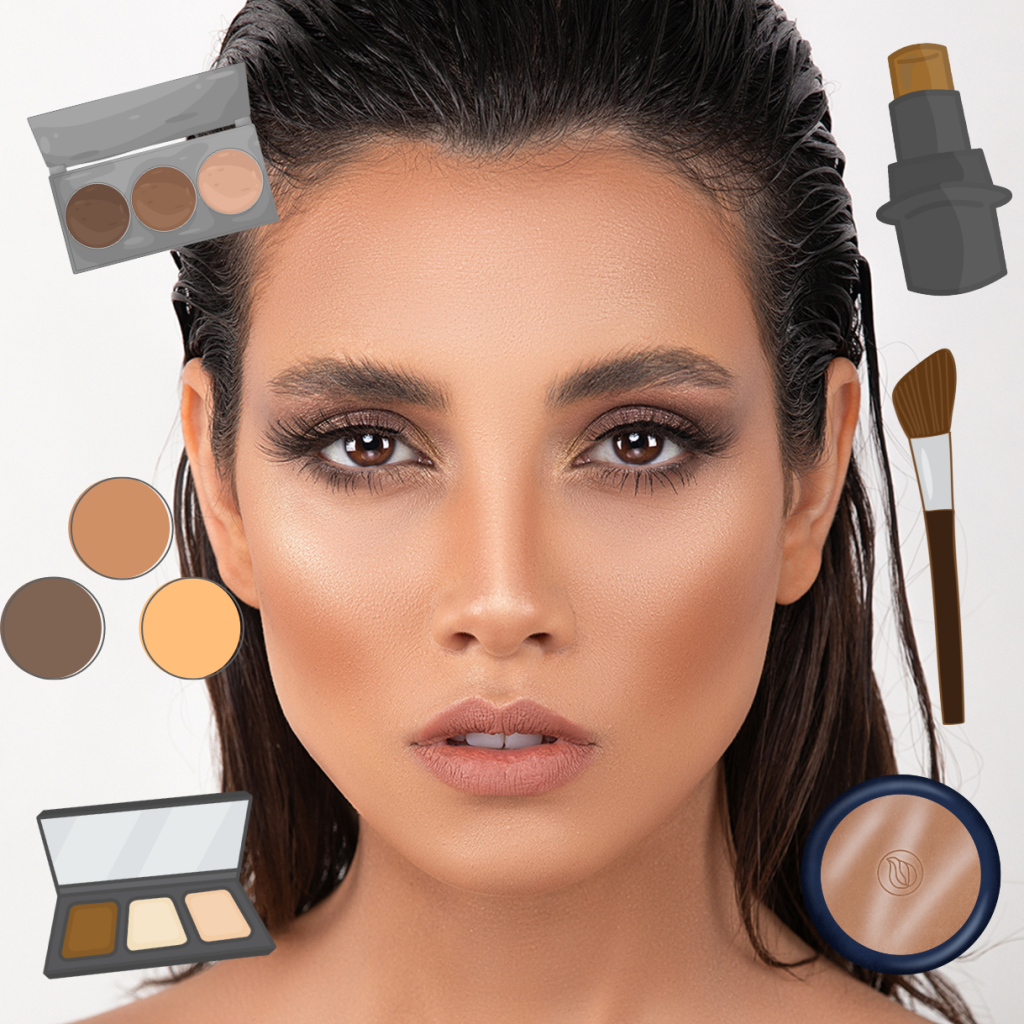
Contouring and highlighting create dimension through strategic placement of light and shadow. These techniques can transform your facial structure by accentuating your natural features and creating the illusion of a more sculpted appearance.
Applying Contour and Highlighter Basics
Start by identifying your face shape to determine where to place contour and highlighter. For contour, choose a matte product 1-2 shades darker than your skin tone.
Apply it to the areas you want to recede—typically under the cheekbones, along the jawline, sides of the nose, and temples.
Highlighter should be 1-2 shades lighter than your skin tone with a subtle luminous glow. Apply it to areas you want to bring forward: tops of cheekbones, down the center of the nose, cupid’s bow, and brow bones.
Product Selection Is Important:
- Cream products: Ideal for beginners, easier to blend
- Powder products: Best for oily skin types, longer-lasting
- Sticks: Offer precise application and convenience
Blending for a Natural Look
The secret to professional-looking contouring lies in proper blending. Use fluffy brushes for powder products and clean beauty sponges or fingertips for cream formulas. Blend in upward, circular motions to avoid harsh lines.
Work in thin layers rather than applying too much product at once. This allows for gradual building of pigment and easier correction if needed.
A common mistake is not blending thoroughly where contour meets the rest of your makeup. Pay special attention to edges and transitions between highlighted and contoured areas and most importantly, by your hairline!
Set cream products with translucent setting powder or a setting spray to prevent creasing throughout the day. This step is especially important for areas like under the eyes and around the nose.
How To Enhance Your Features:
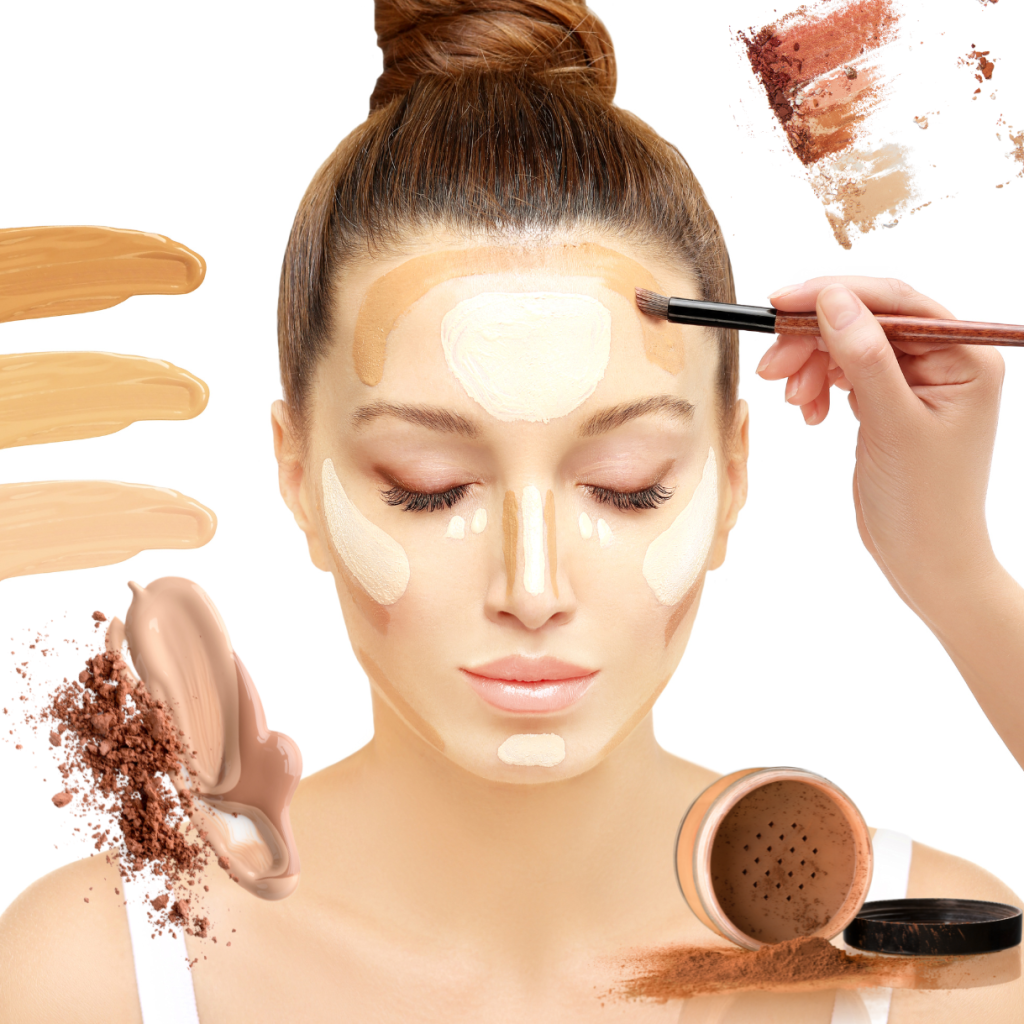
Different facial features benefit from specific contouring approaches. For cheekbones, suck in your cheeks to find the natural hollow and apply contour there in an upward angle toward your temples.
To define your jawline, apply contour directly under it from ear to chin. This creates the appearance of a more sculpted profile and can minimize the look of a double chin.
For nose contouring, use a small, precise brush to apply thin lines down both sides of your nose. Keep the lines parallel and blend thoroughly for a natural effect.
Quick guide for common face shapes:
- Round: Contour sides of forehead and below cheekbones
- Square: Soften angles by contouring the corners of the jaw
- Heart: Slim the forehead with contour at the temples
- Oval: Light contouring for balance, focus on definition
Face sculpting is an accessible skill that anyone can do at home with practice and the right techniques and tools.
Understanding your unique face shape is important to creating a natural-looking definition that helps make your features stand out.
Regular practice at home will improve your skills over time, allowing you to customize your approach based on different occasions and lighting conditions.
The tools don’t need to be expensive—quality brushes and products that match your skin tone are more important than high-end brands.
Remember that face sculpting should enhance your natural beauty rather than completely changing your appearance.
With daily use of your LED face sculptor and practicing the application of the contouring techniques listed above, you’ll develop a personalized routine that works specifically for your facial structure and your pretty face will look more refined and contoured!
I hope you learned some helpful contouring techniques and ideas from my post. If you have any questions please leave them below and I will try to answer them!
PIN IT!
Anne Perry says
I haven’t worn makeup in years. I used to use Covergirl foundation.