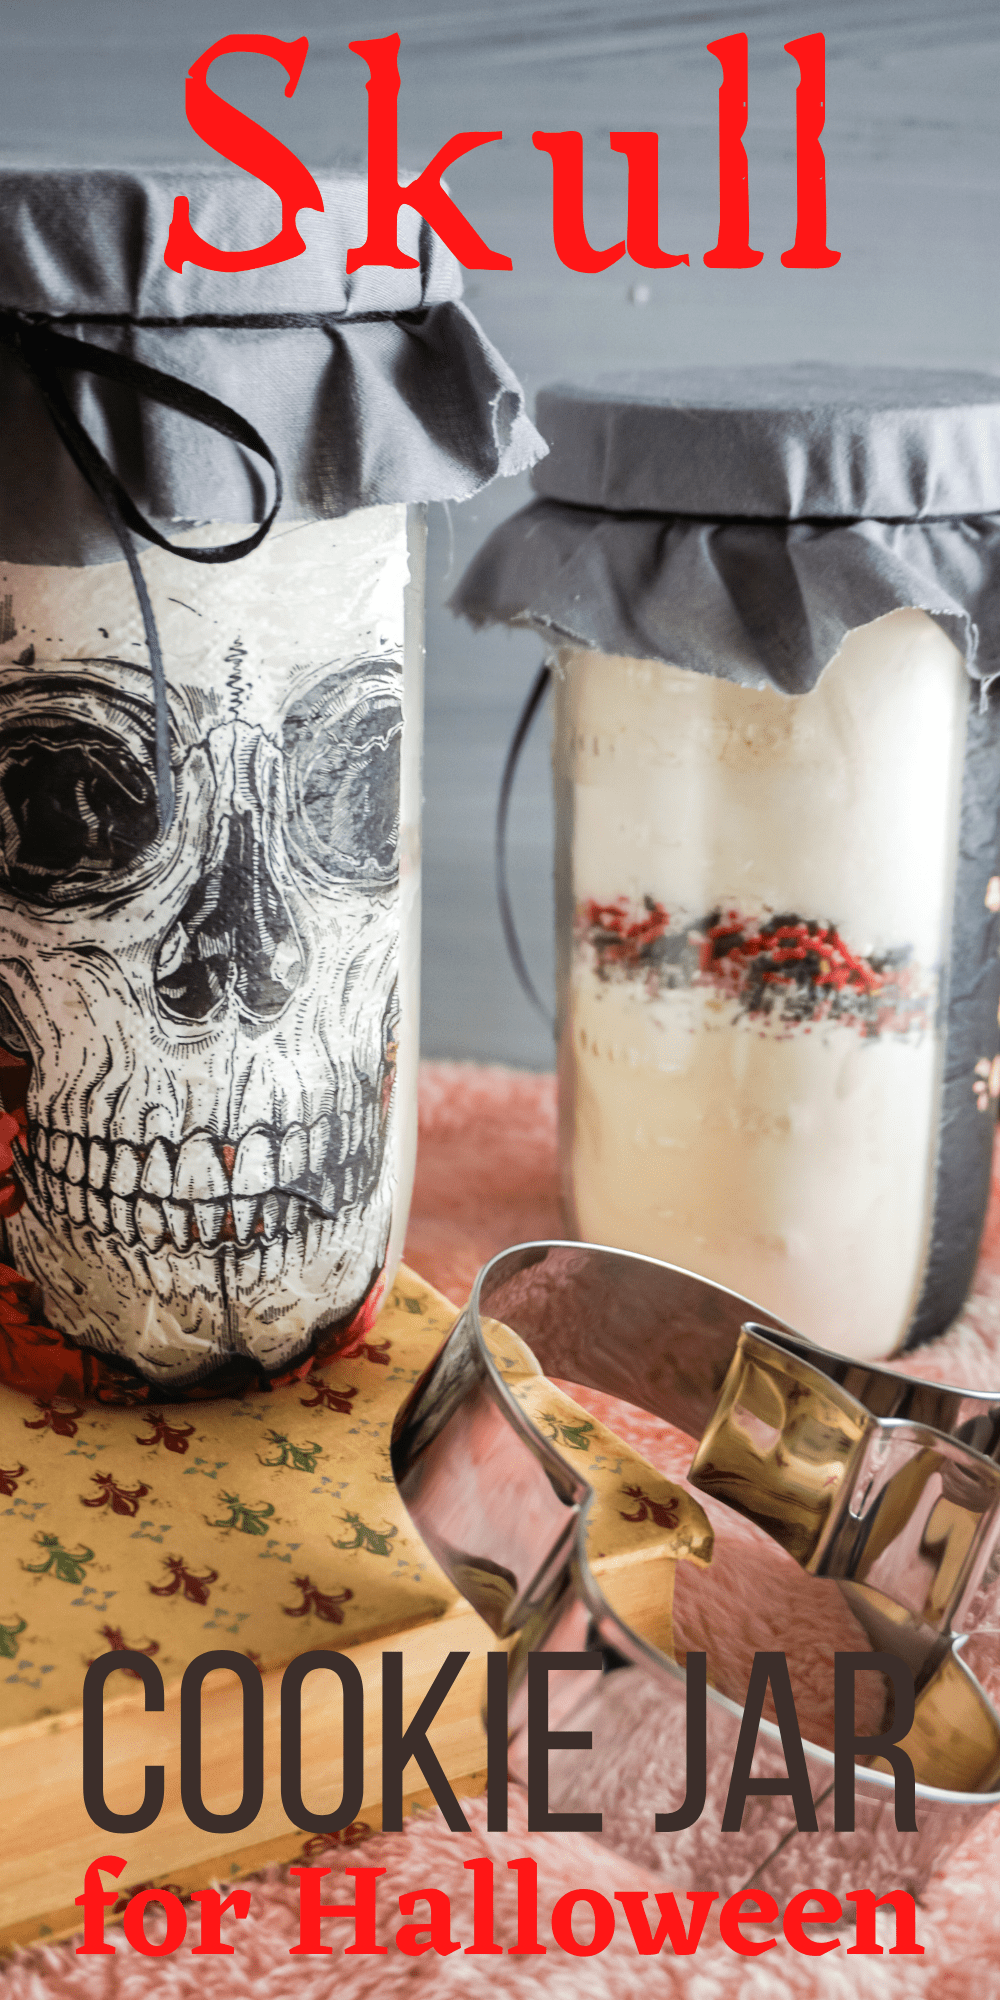
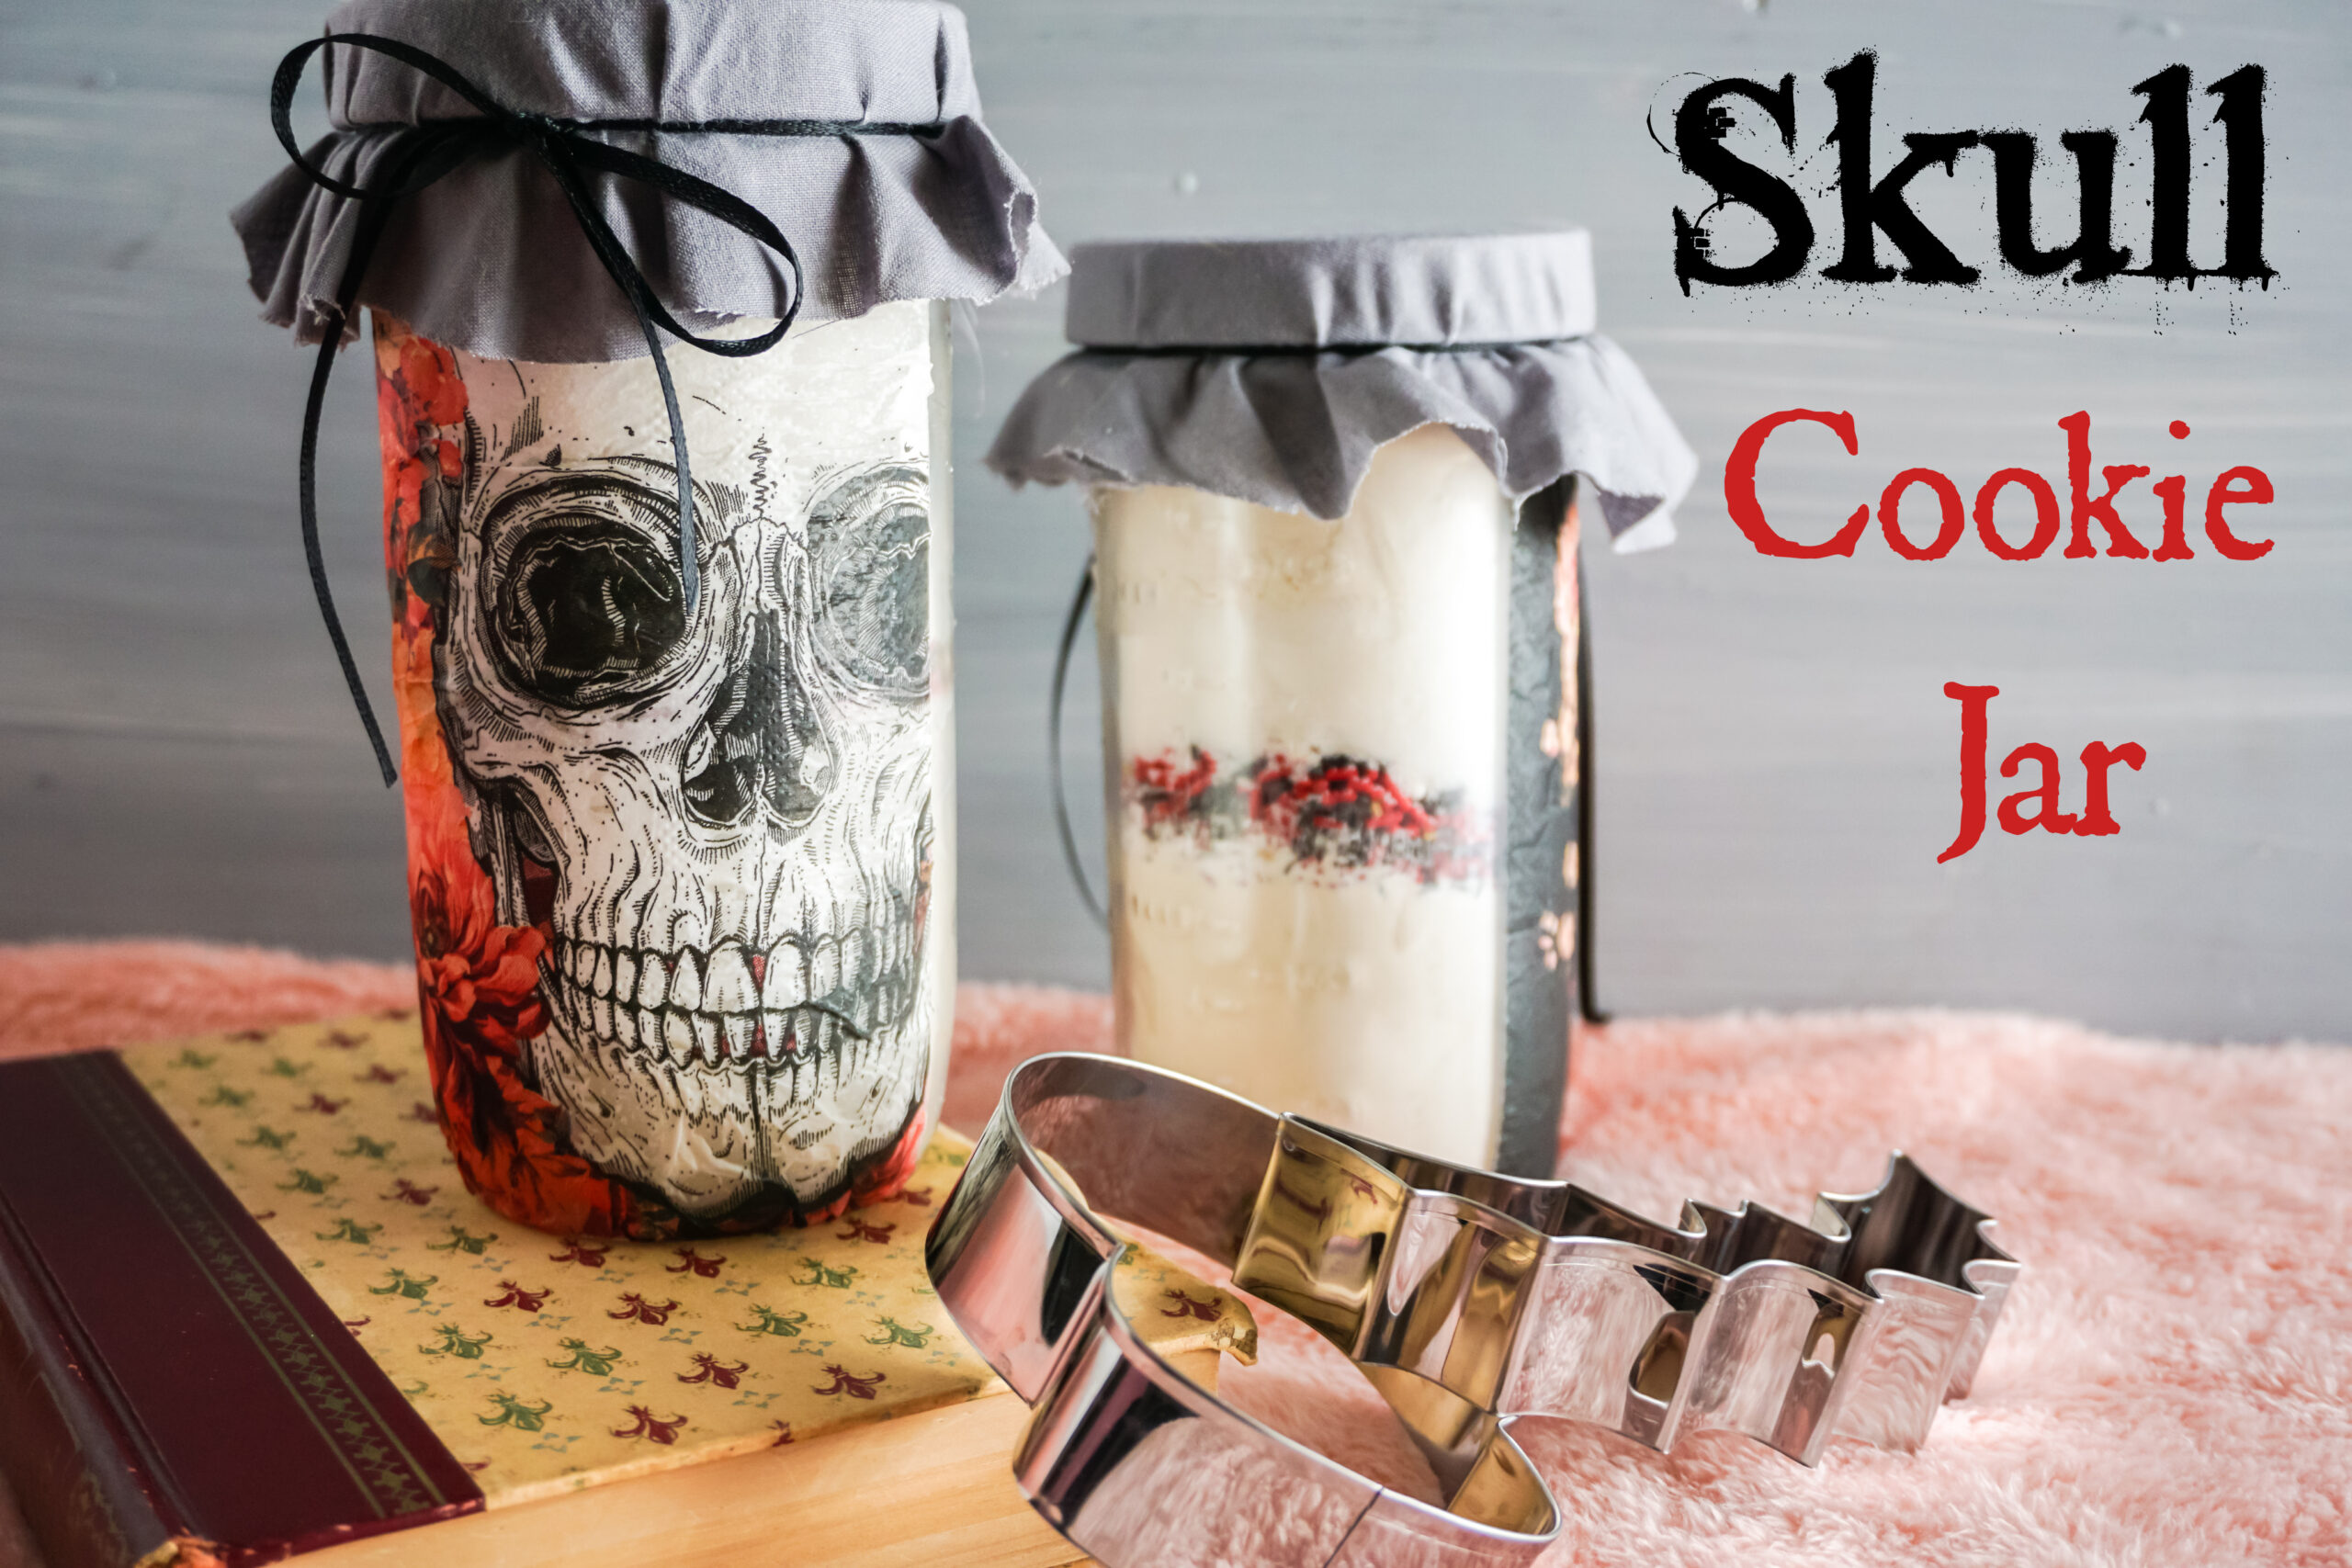
Dearest me! I absolutely LOVE Halloween time and when I saw this skull cookie jar for Halloween, I went nuts! I had to make one for myself and display it in my kitchen on my counter. It is brilliant, creepy, and just so awesome!
The skull cookie jar Halloween craft is perfect for giving away as Halloween gifts OR just keeping them to yourself and displaying them in your kitchen.
However, they ARE filled with some yummy cookie mix, so don’t forget to make these cookies for Halloween too! They are, after all, super delicious! Grab your Halloween Candy and let’s get to it!
*This post includes my affiliate links
It is so funny because as soon as September hits our home is decorated with everything we can find that is spooky, ghoulish, and just plain scary! My kids LOVE it when the holidays start at our home and it all starts with Halloween 🙂
Now, Back To Those Skull Cookie Jar DIY Halloween Crafts!
Whoosh! Okay, now we will refocus on those skull cookie jar crafts for Halloween! These turned out SO dang cute and must be displayed or given away so others can enjoy them too! I know you will agree with me on this one!
Let’s Get Started! Yay!
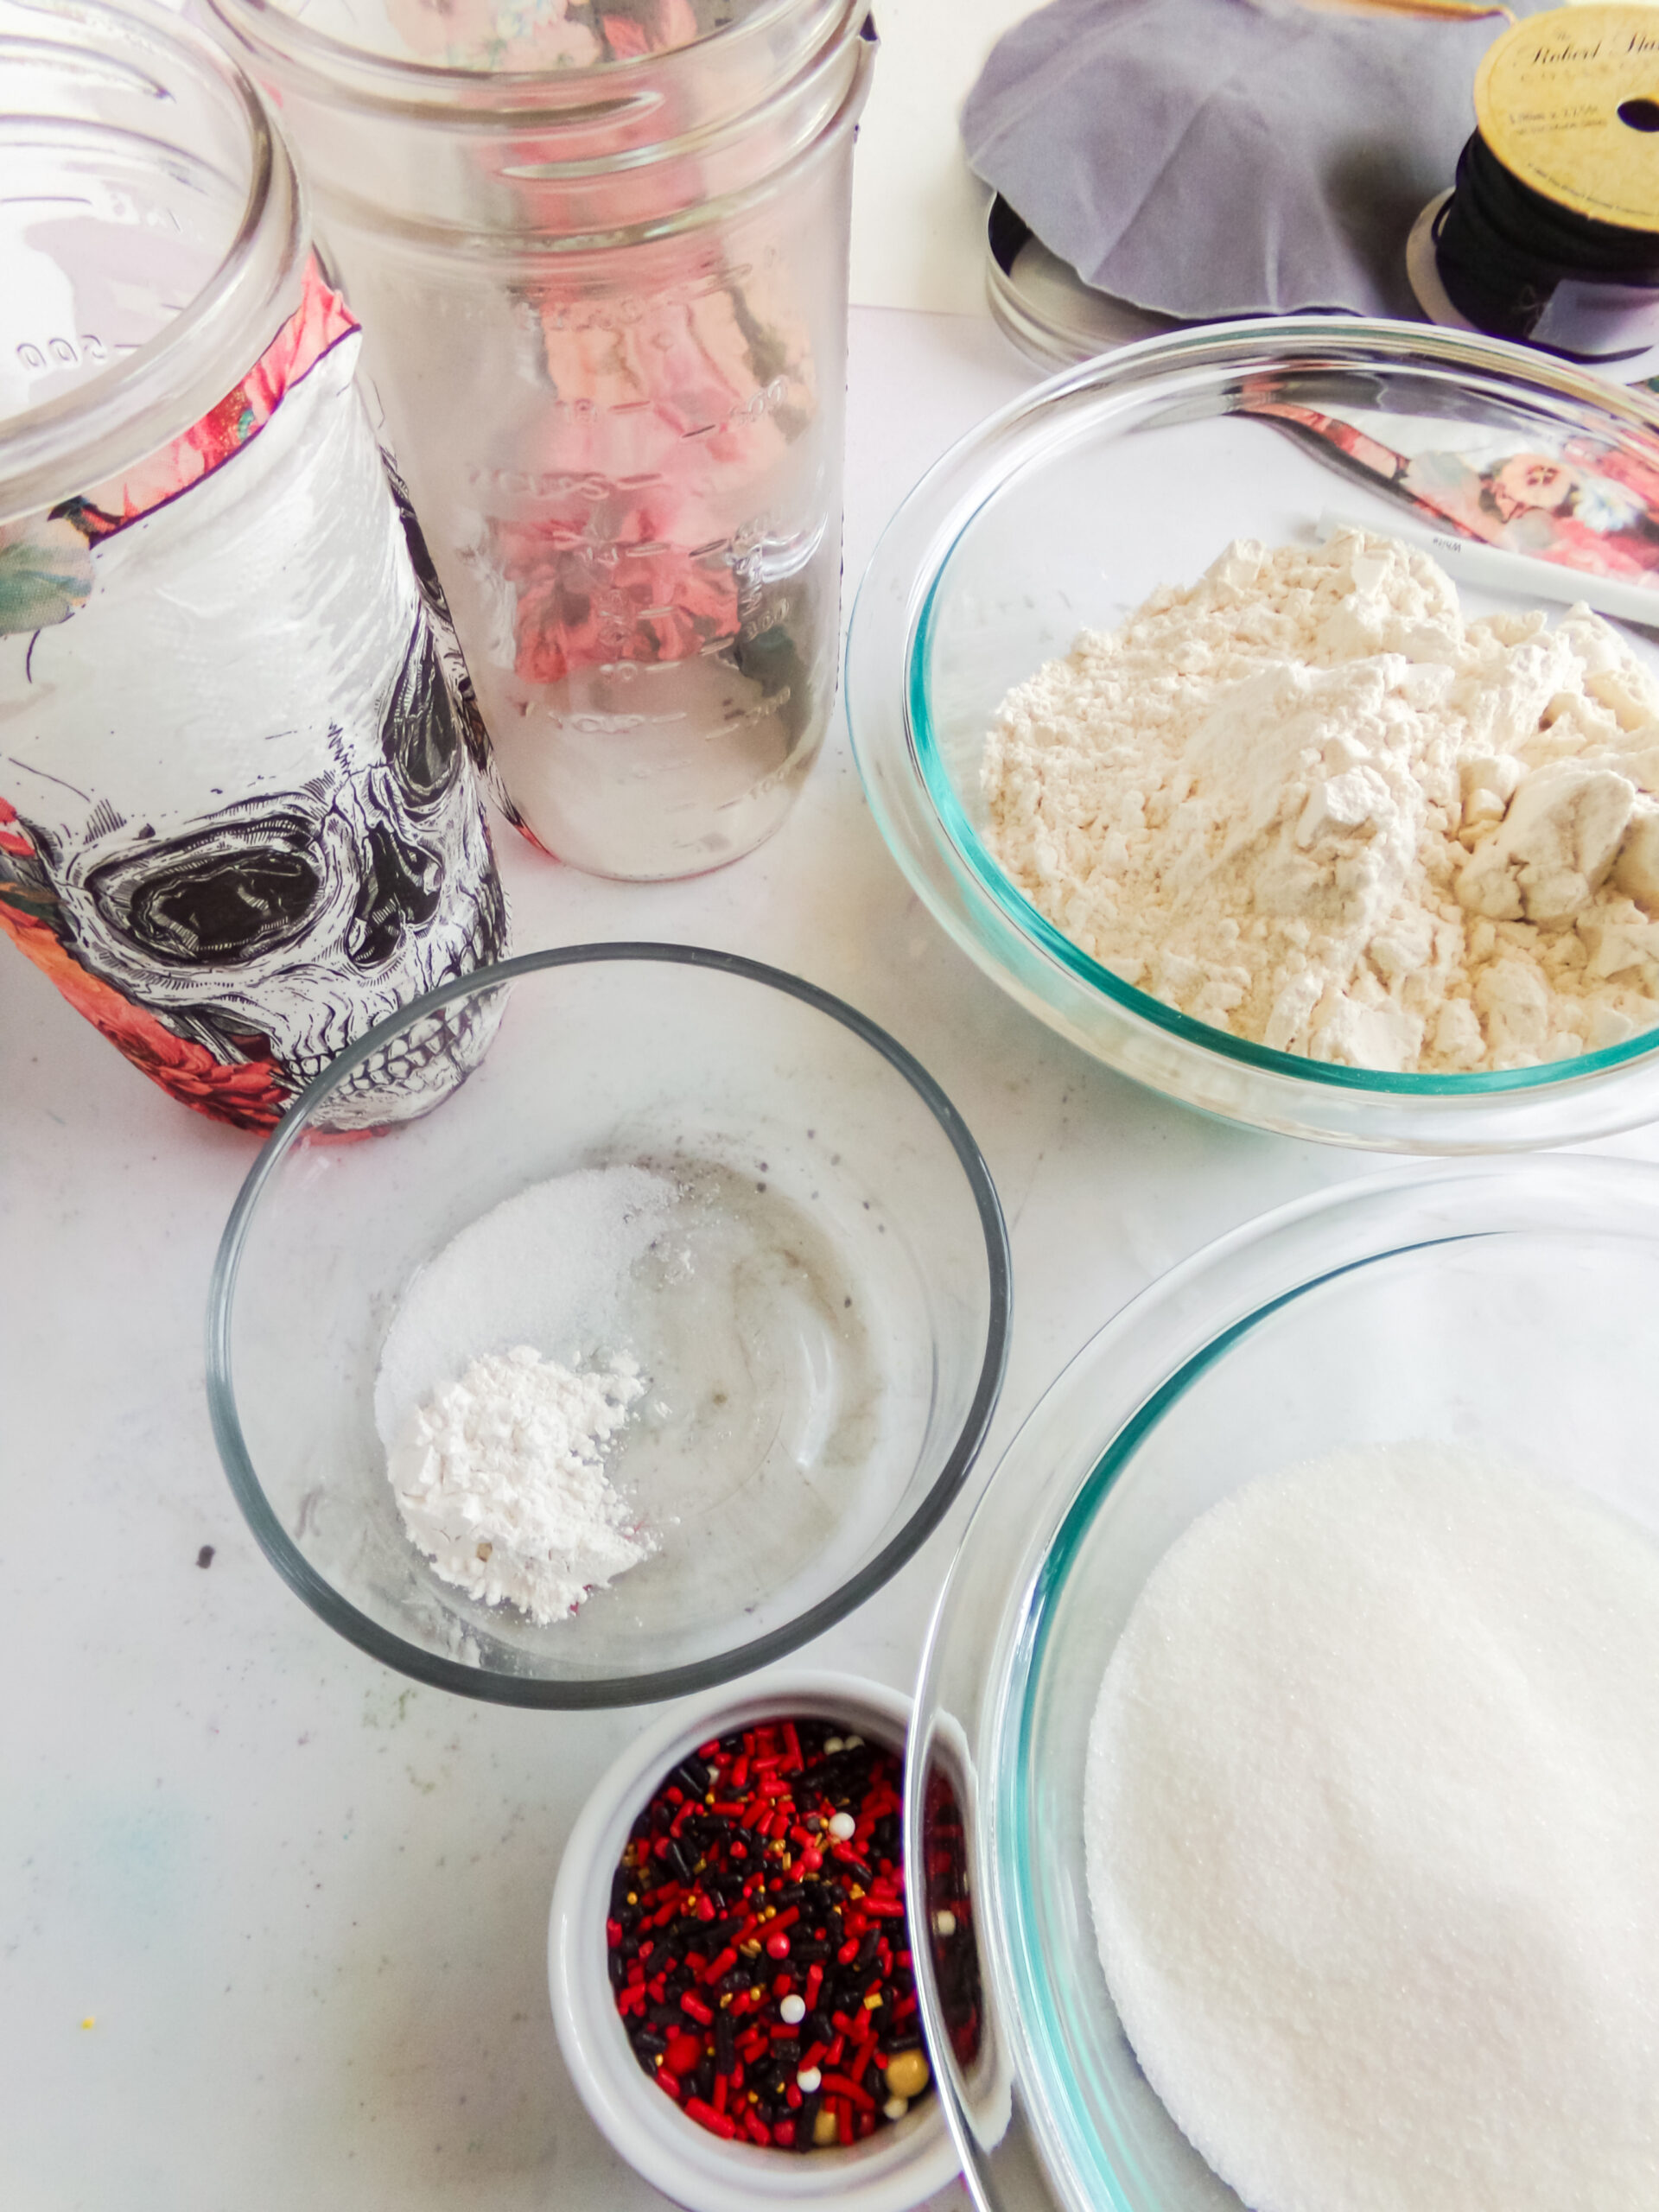
Here are the supplies you will need to make your own skull cookie jar:
To Fill the Jars (cookie mix):
*2 cups flour
*¼ tsp salt
*1 tsp baking powder
*¾ cup sugar
*Halloween Sprinkles
Supplies Needed To Make The Skull Jars:
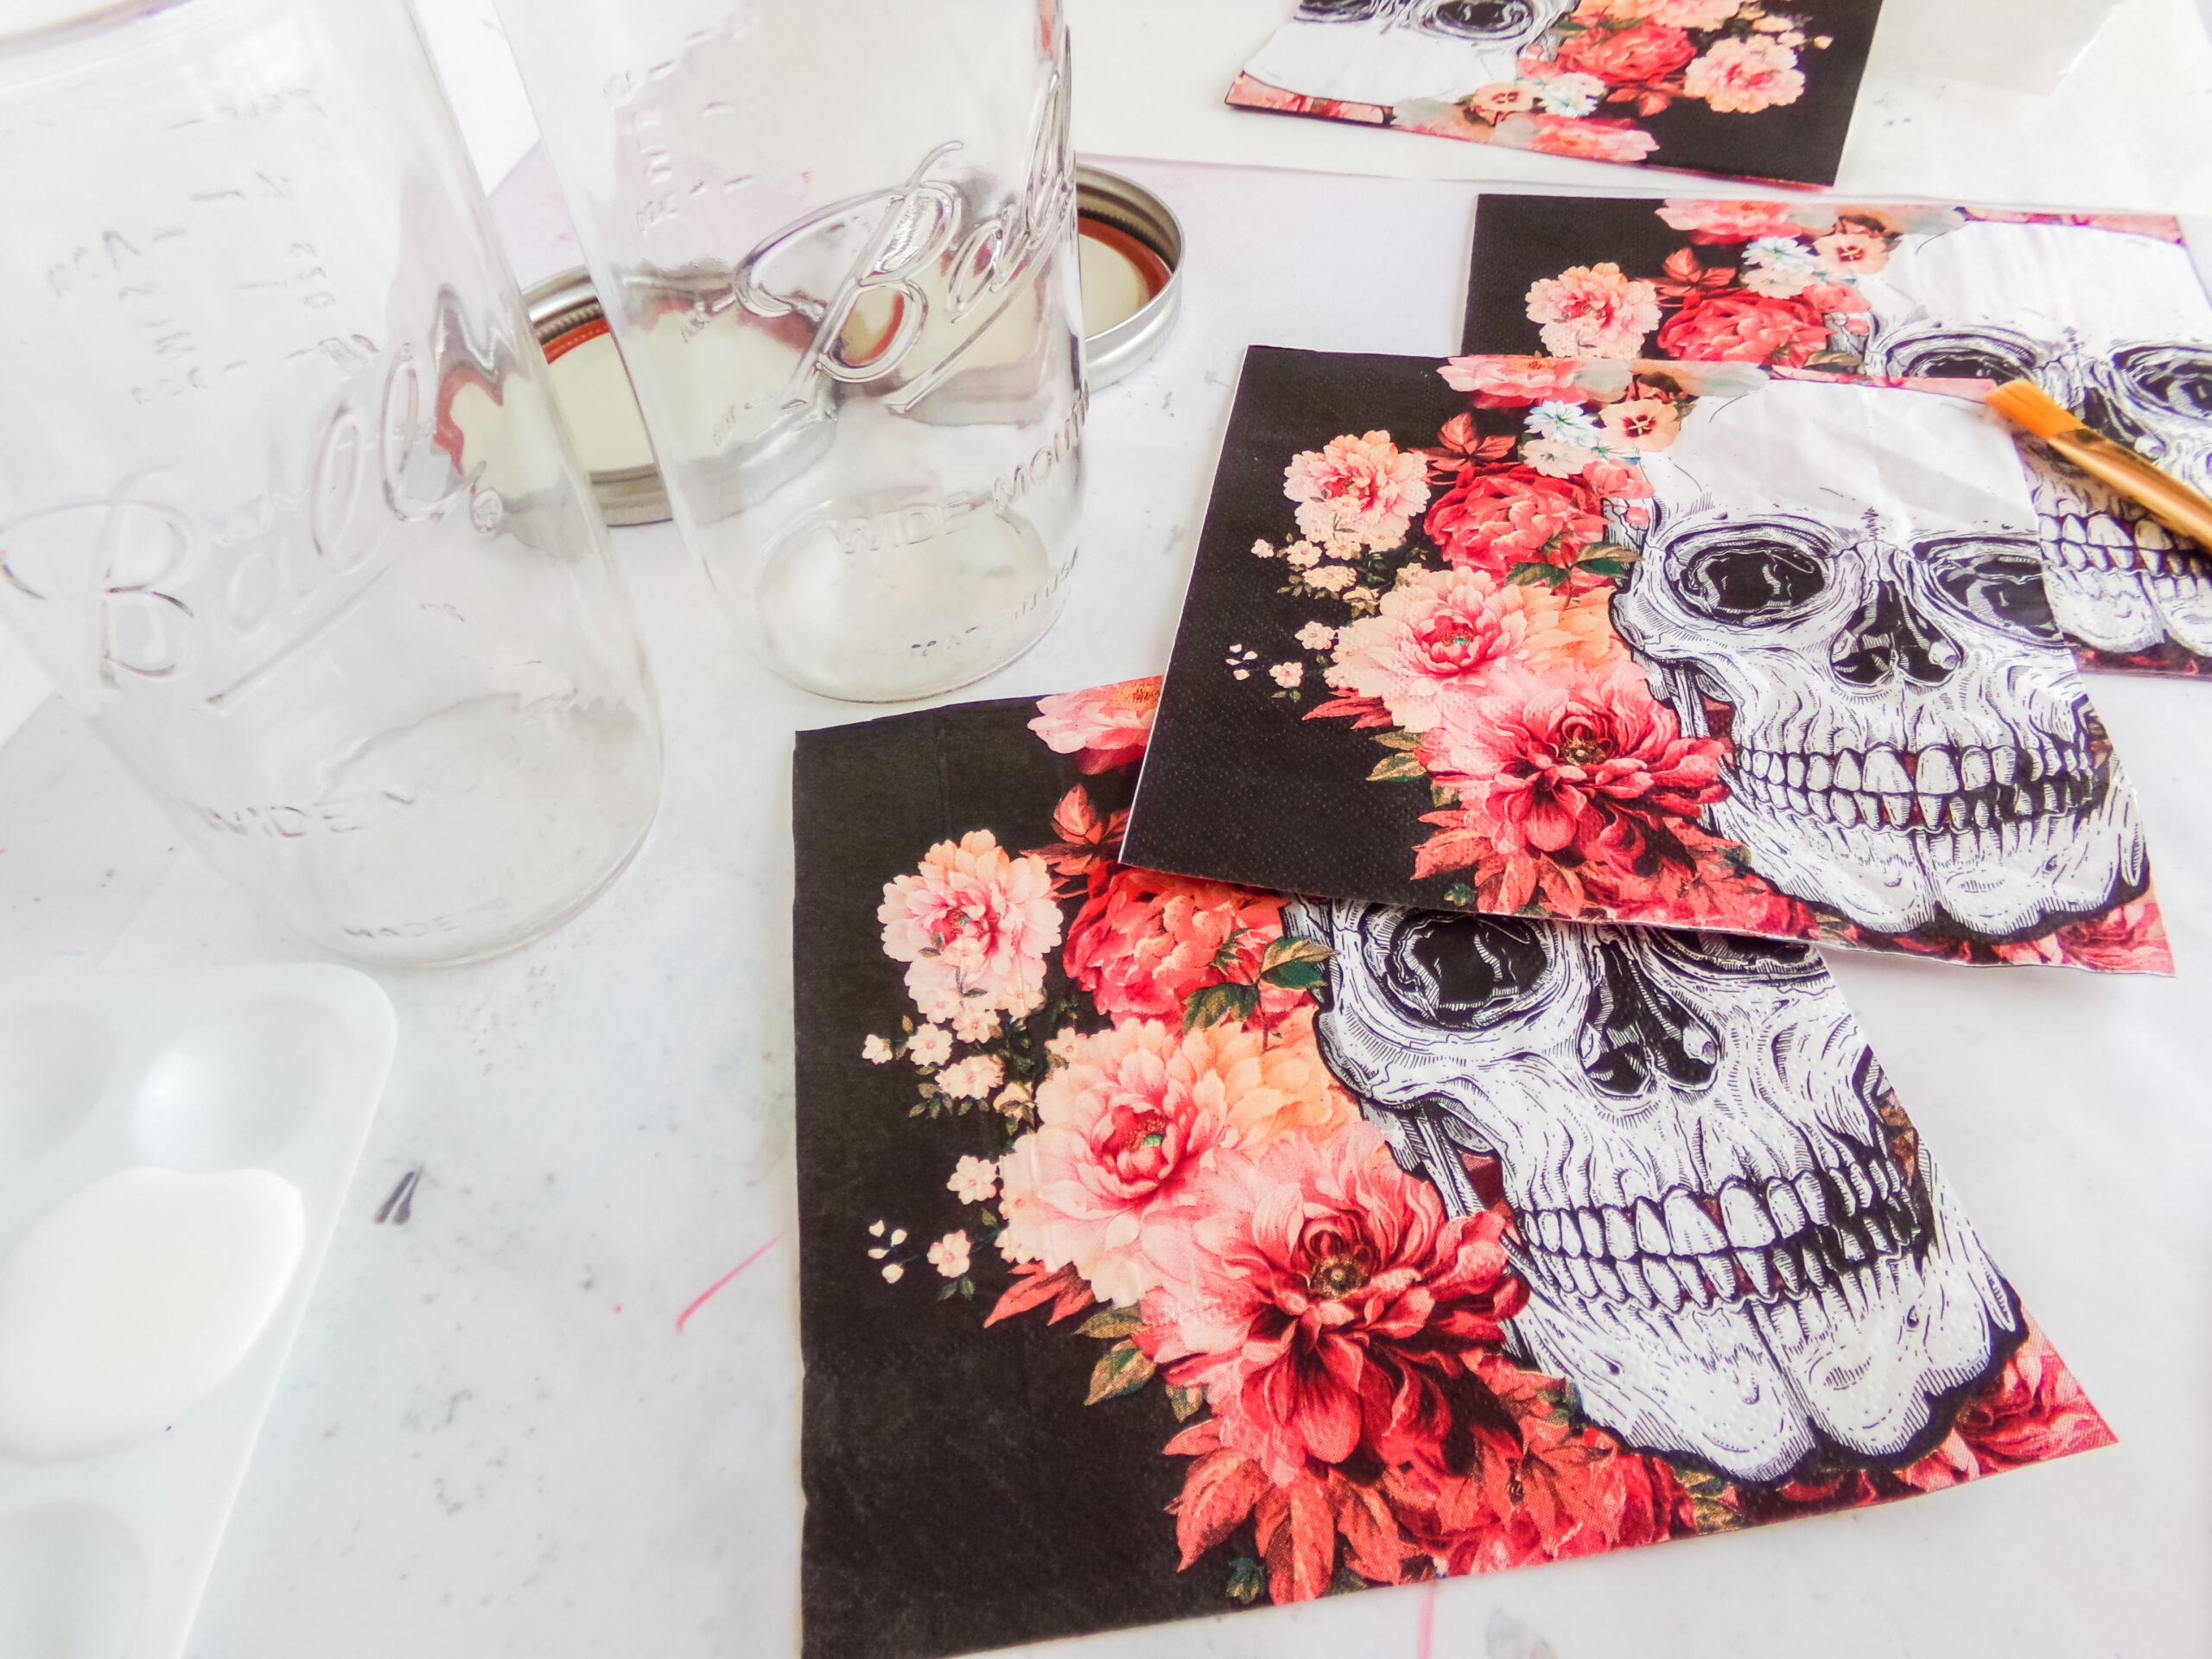
*Skull Napkin (You can purchase from Etsy)
*Printable Gift Tag (grab and print them HERE !)
*Cardstock Paper
*Mod Podge or Craft Glue
*String or Raffia
*Grey Cotton Fabric
*1 Pint-Sized Mason Jar (with lid)
Tools You Will Need:
*Paintbrush
*Funnel
*Scissors
Instructions To Make The Skull Cookie Jar For Halloween:
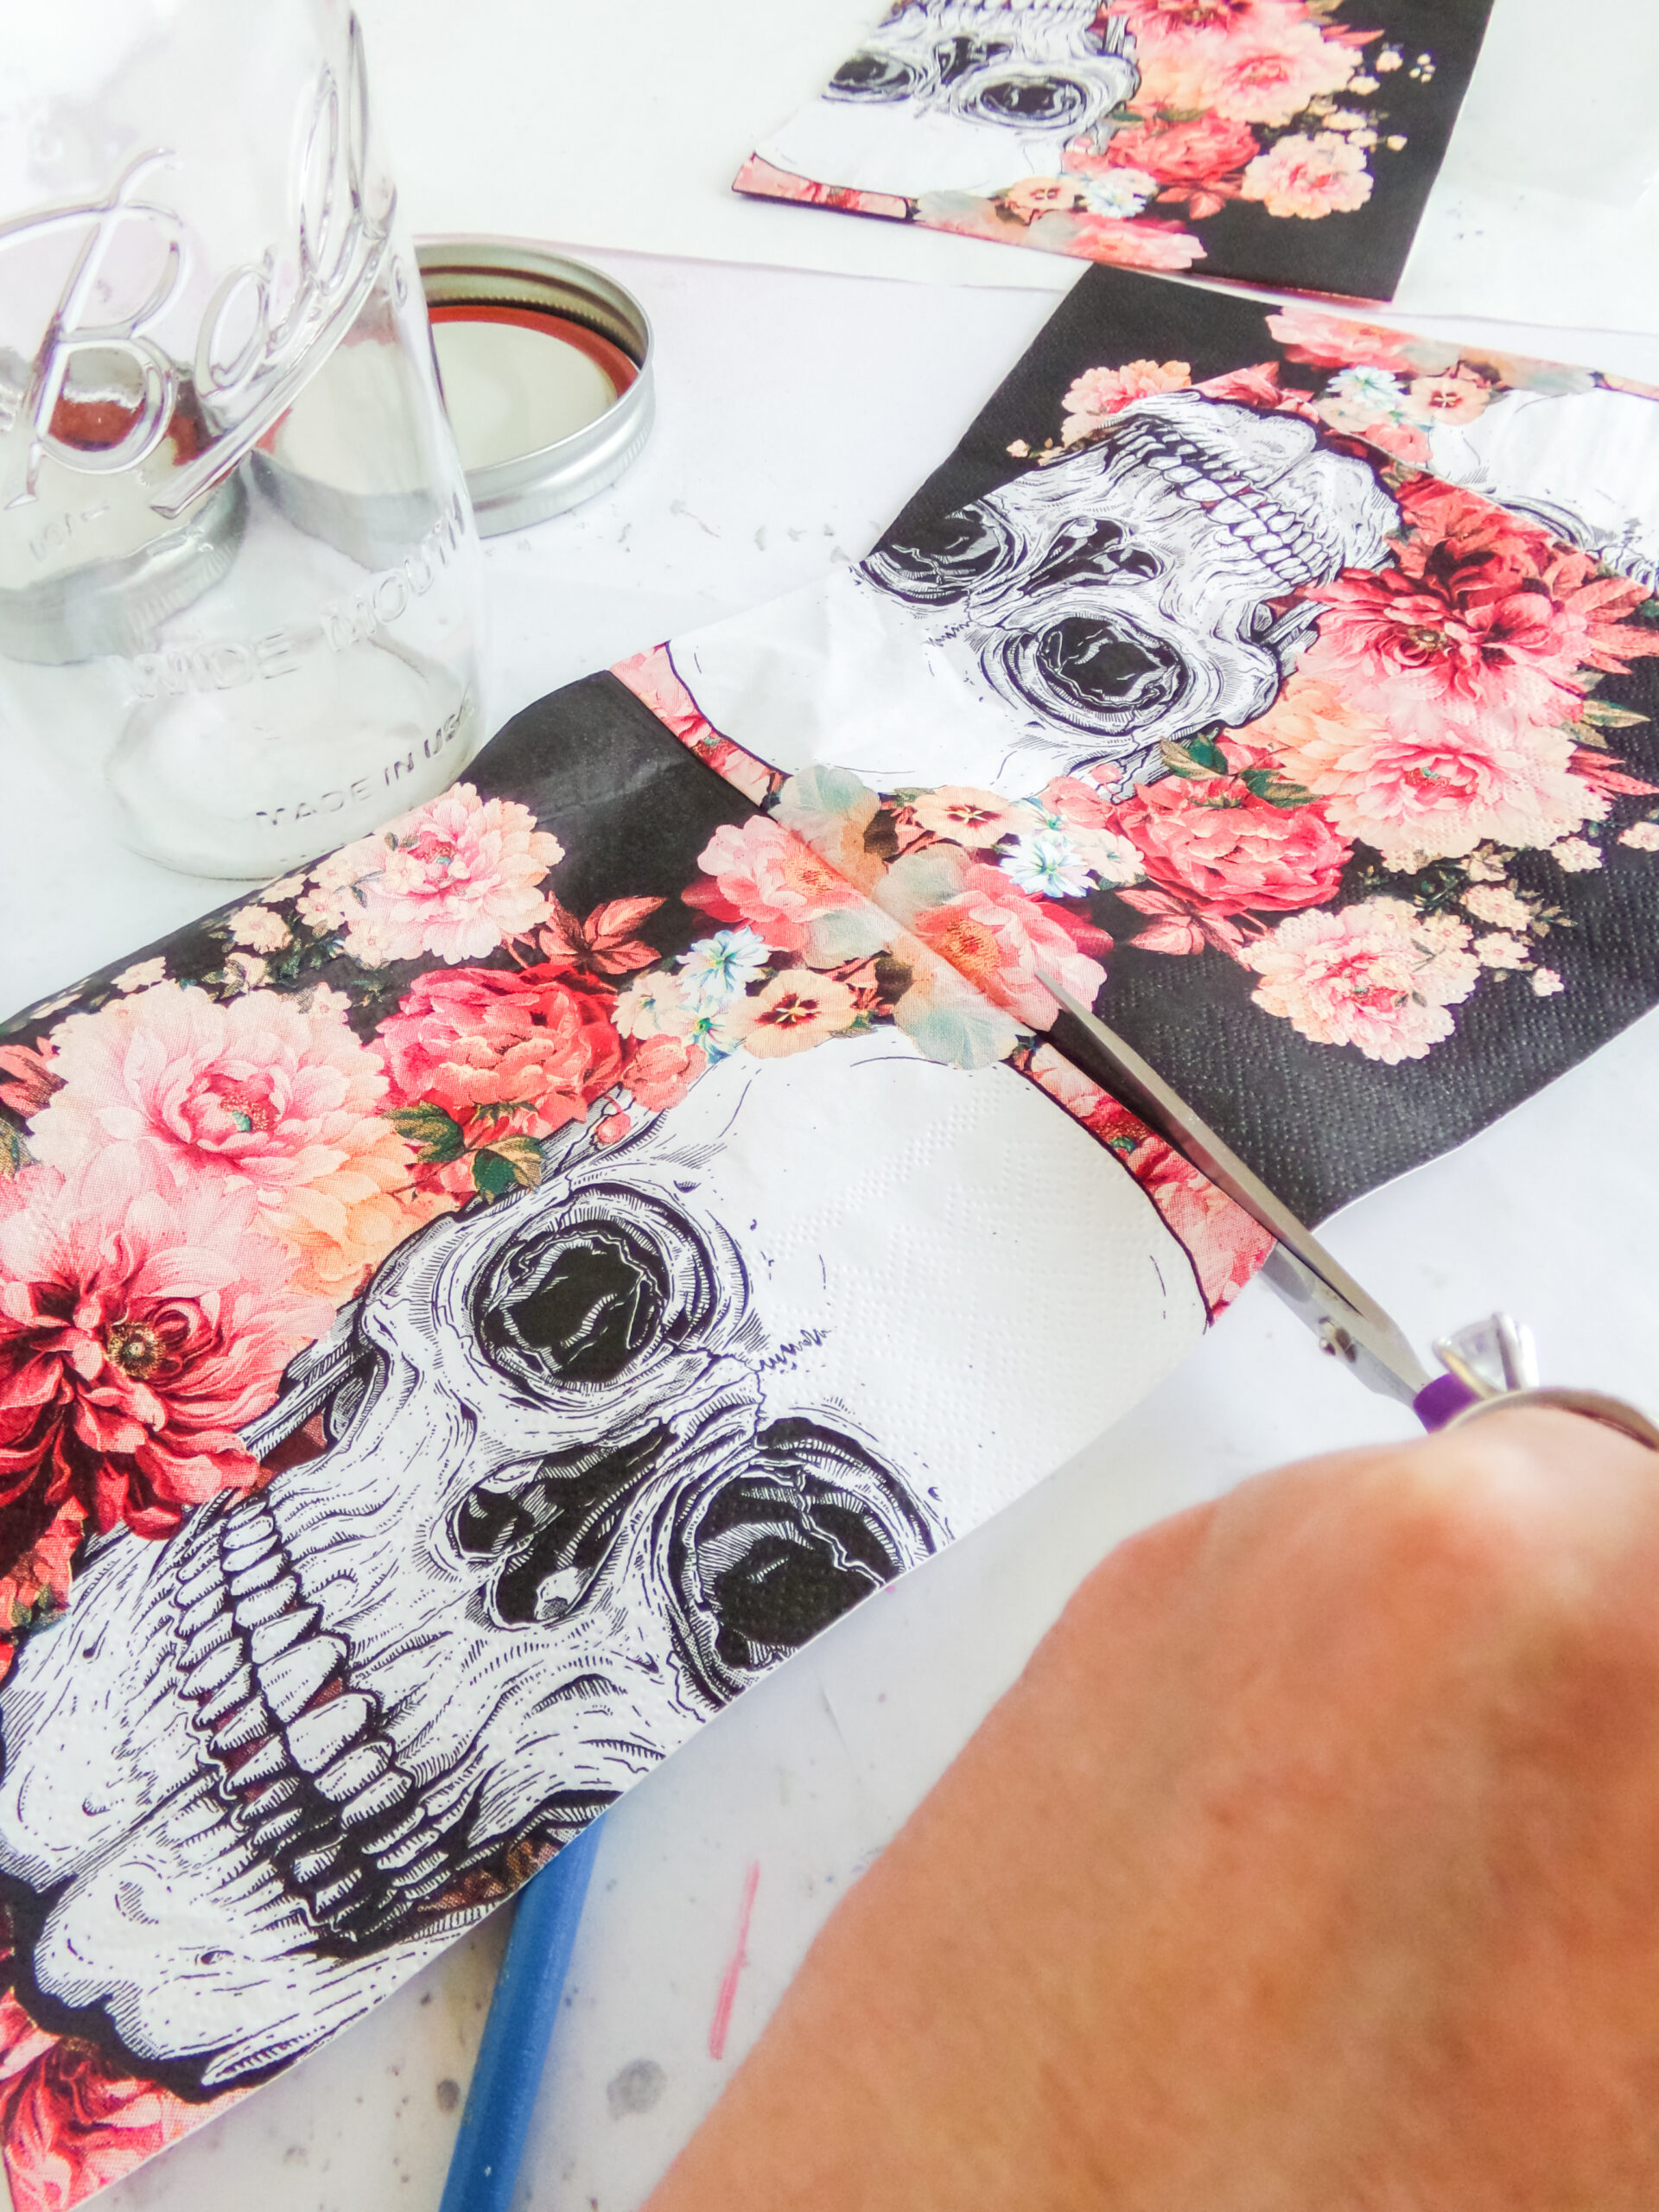
- Make your jar first by trimming your napkin to fit nicely on the jar. I cut off 3 of the four sides, leaving just the clean front of the skull and flowers.
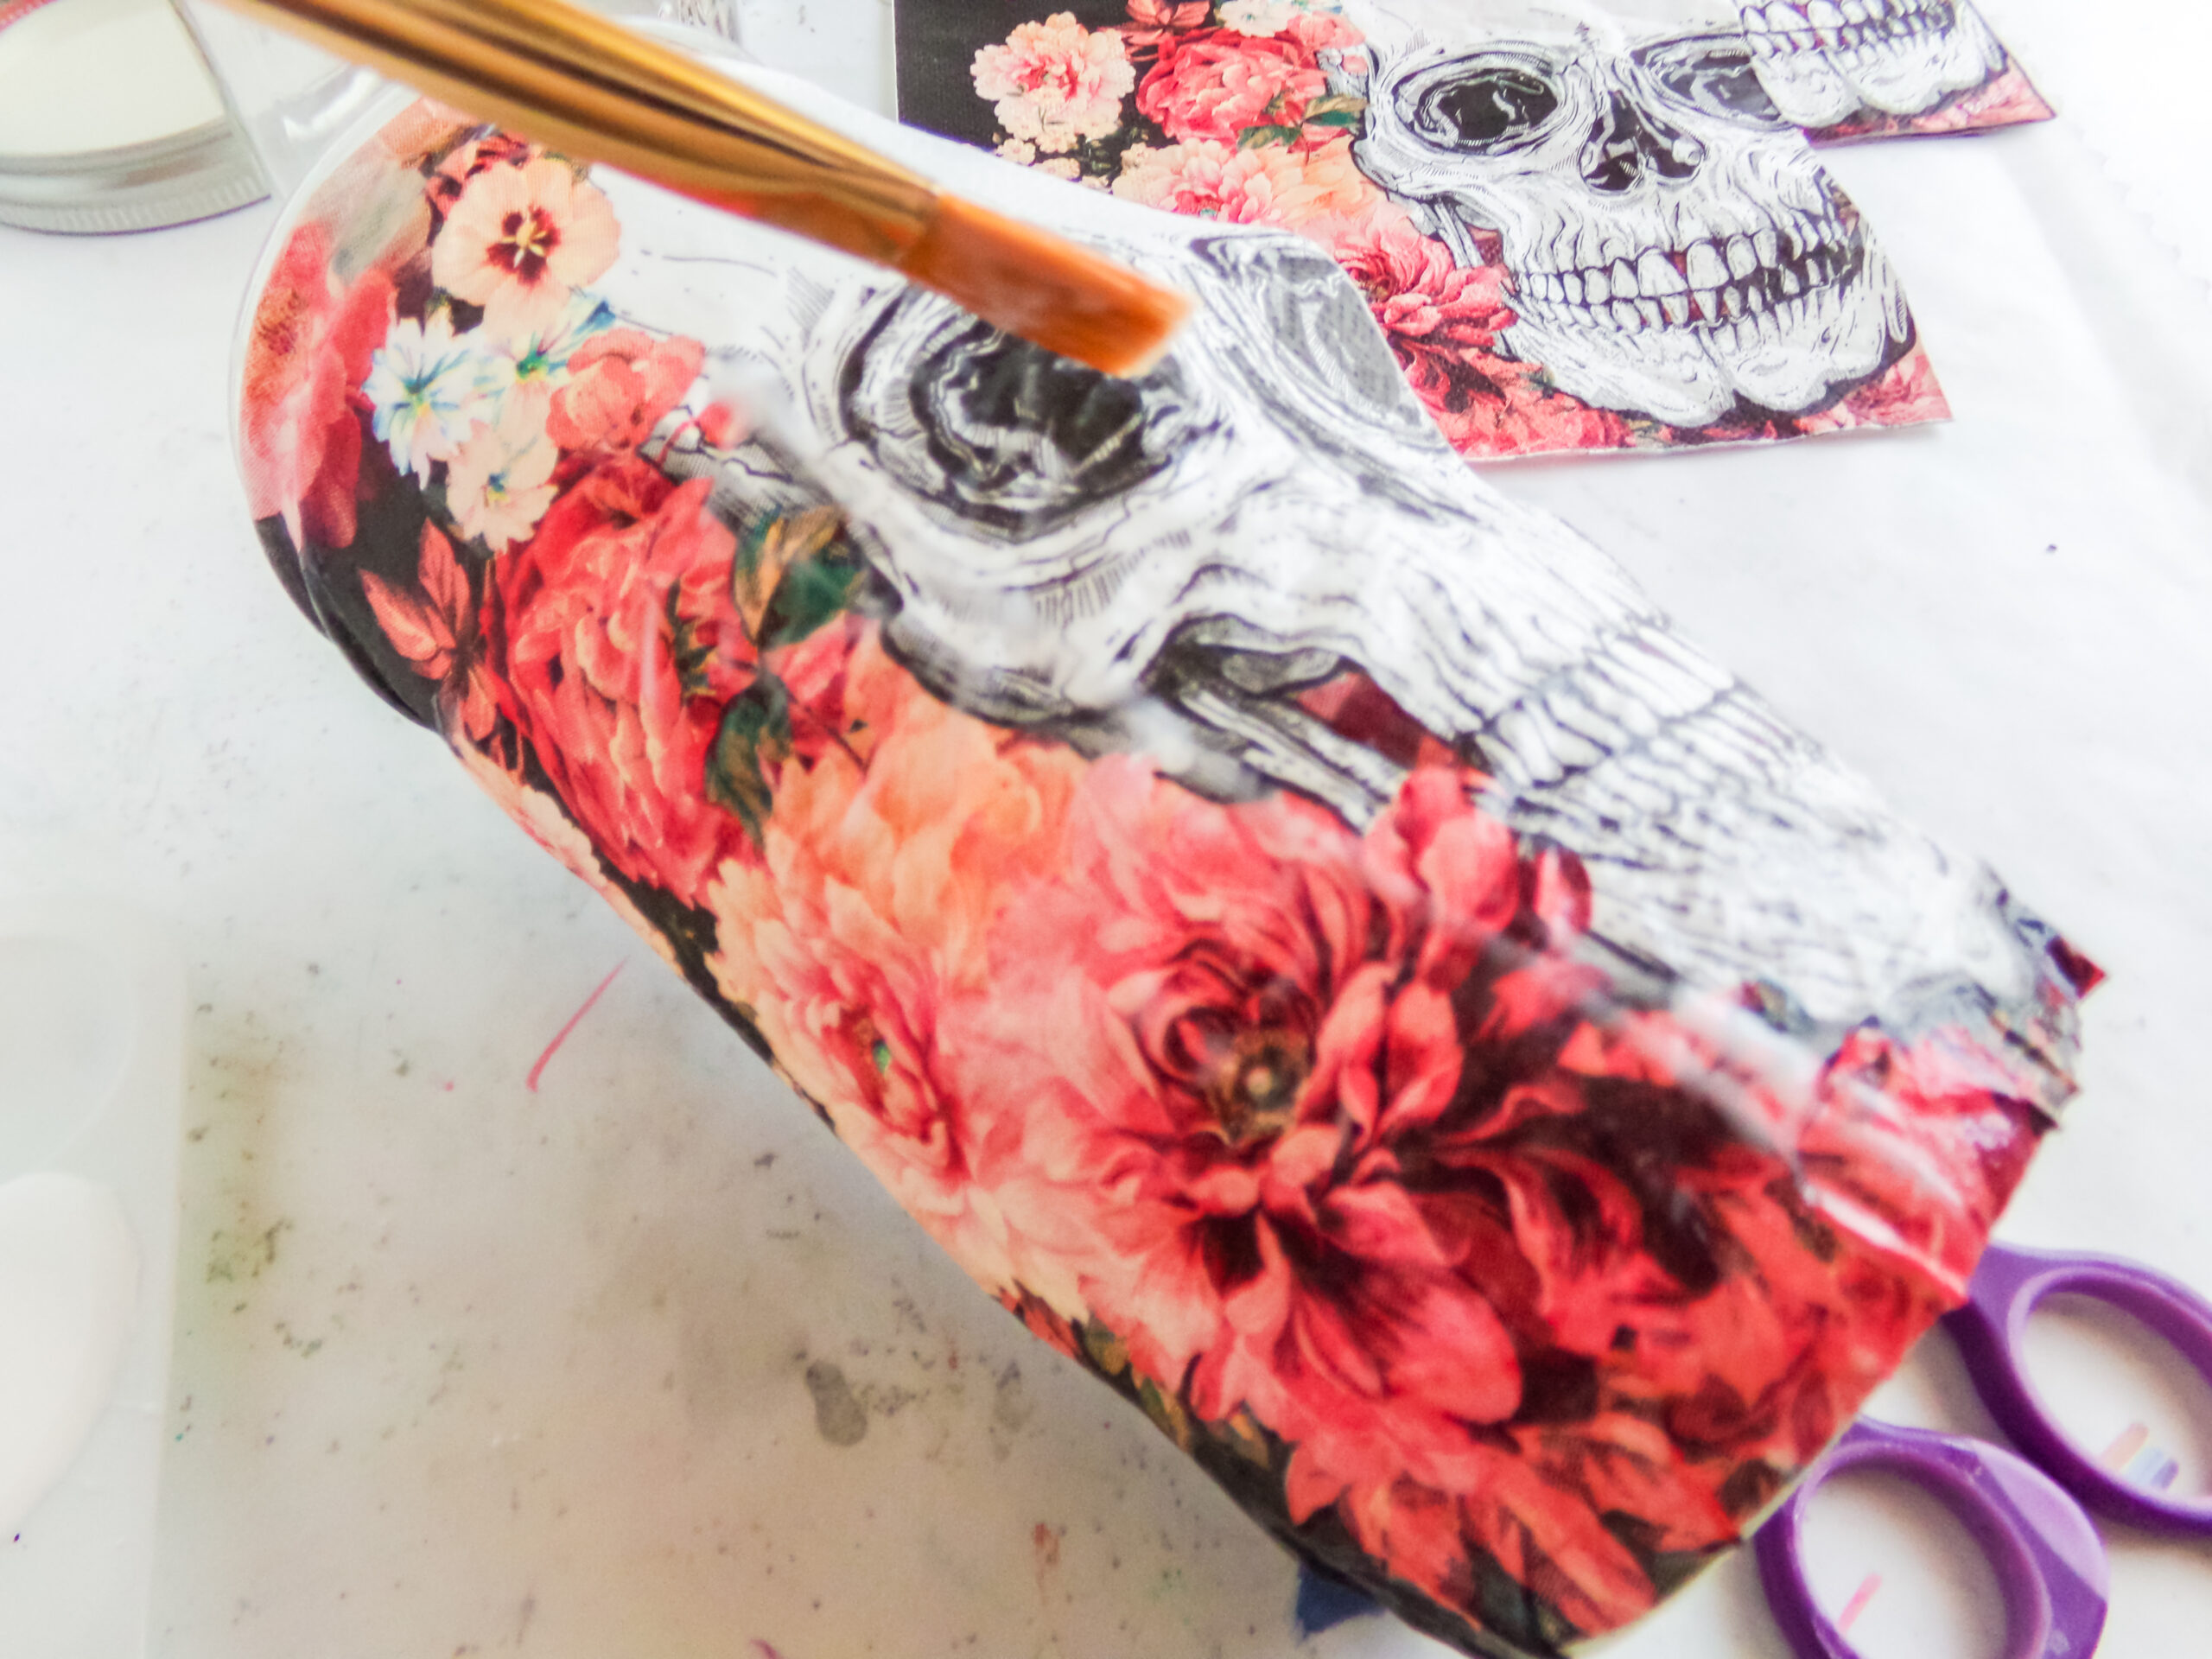
- Coat the jar with a layer of Mod Podge, then immediately place the prepared skull napkin on the surface of the jar. Take care to place it carefully because the napkin is thin and fragile–and will tear if you try to move it after the napkin comes in contact with the Mod Podge. *One thing to note: I left the measurement marks on my mason jar visible on the back of my jar because I thought it would be neat to see how much of each ingredient is in the jar. Allow this first layer of Mod Podge to dry completely.
- Coat the napkin-covered jar with a second layer of Mod Podge, just to provide extra protection for the napkin. Allow this second layer of Mod Podge to dry completely.
- Fill your jar with the cookie mix. I tried a couple of variations, but my preferred choice was to split the flour into 3 portions. Then I just added the darker ingredients between these 3 layers with the sprinkles in the very middle.
- Once filled, place the lid on the jar and secure it tightly.
- Cut your fabric to about a 5-inch by 5-inch square or a 6-inch diameter circle.
- Print your recipe card on cardstock paper and cut it to size.
- Punch a hole in the top of the recipe card and thread the string or raffia to it.
- Place the piece of fabric on top of the jar secure it in place with the string or raffia and be prepared to gift it!
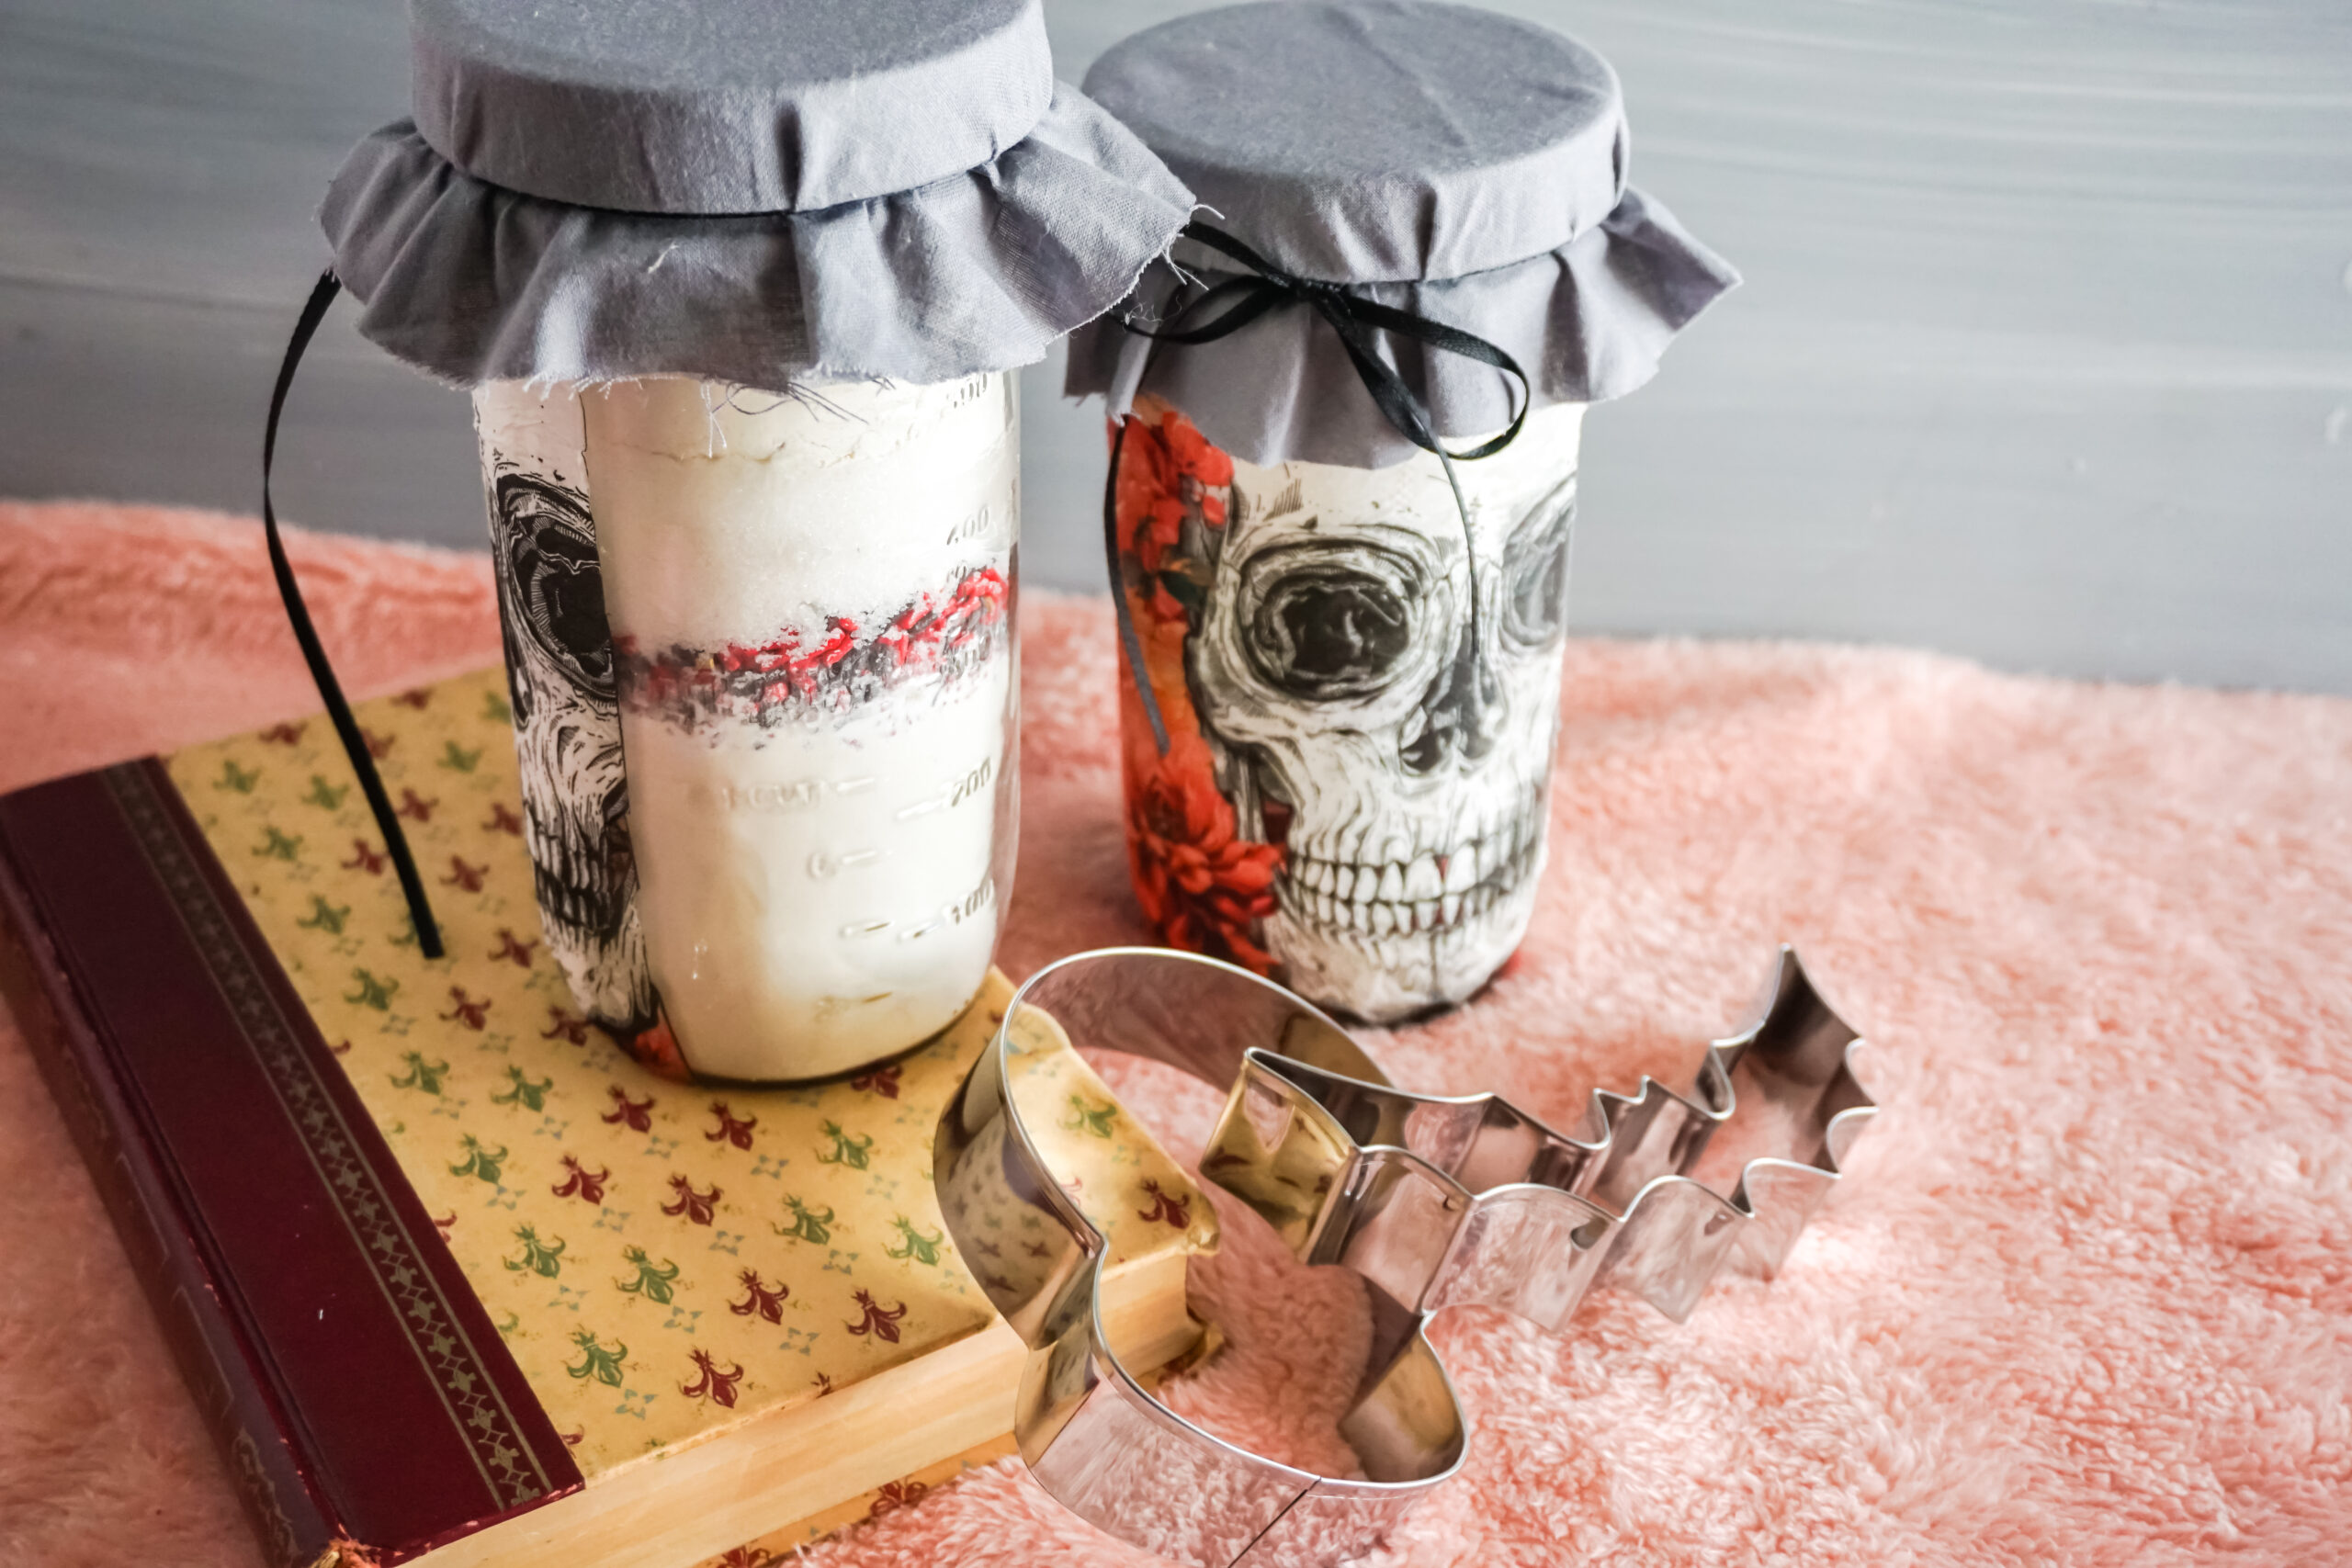
You must let me know if you make this adorable skull cookie jar for Halloween! I want to see how yours turned out!
Also, if you LOVE skulls, then you clearly need to check out this white skull doormat to finish off your haunted Halloween look!
If you are looking for a cute mason jar Halloween craft that doesn’t contain cookie mix, check out my Light-Up Mummy Jar! SO cute!!!
PIN IT (Sharing IS Caring!! Yay!)
