Aah, it’s that time of the year again. Easter is beckoning, and it’s time for festivities, good cheer, and celebration. Let’s try something different this Easter and their Easter wishes come true! Instead of buying new shirts for your child, why not create your own Custom Easter SVG for Kids Bunny T-Shirts instead?
Here, in this article, we’ve compiled a great DIY guide on how to create an Easter Bunny T-shirt for toddlers! An Easter SVG for kids to wear on their shirts! LOVE!
*This post includes my affiliate links. If you click on an affiliate link and purchase something, I will get a small commission.
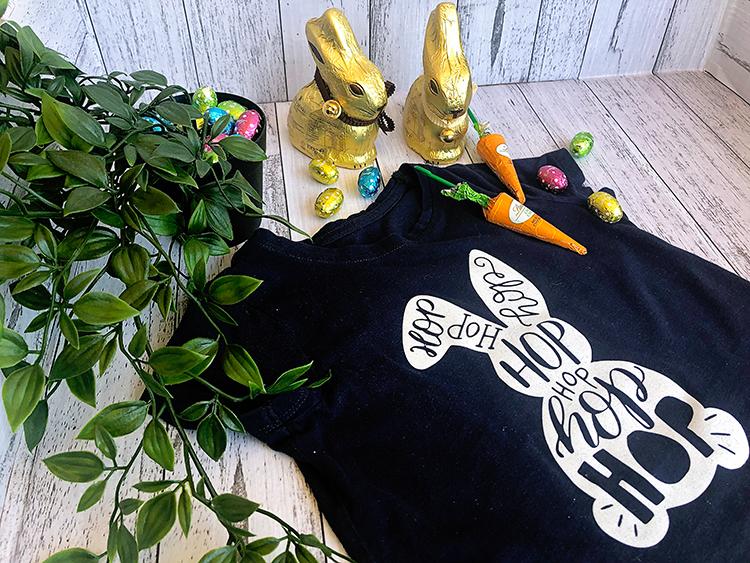
This tutorial outlines a straightforward method to quickly whip up very cute and fun Easter designs. All you need is a vinyl cutting machine, like Cricut, and a silhouette studio or silhouette designer edition for access to your designs, and you’re good to go. There are so many fun Easter diy projects! I hope you enjoy this one!
Custom Easter SVG For Kids Bunny T-Shirts
The following step-by-step guide can be further broken down into three separate processes -setting up the print (cut) file on your computer (Easter SVG kids), printing and cutting out the design, and then finally applying it to the physical item, shirt!
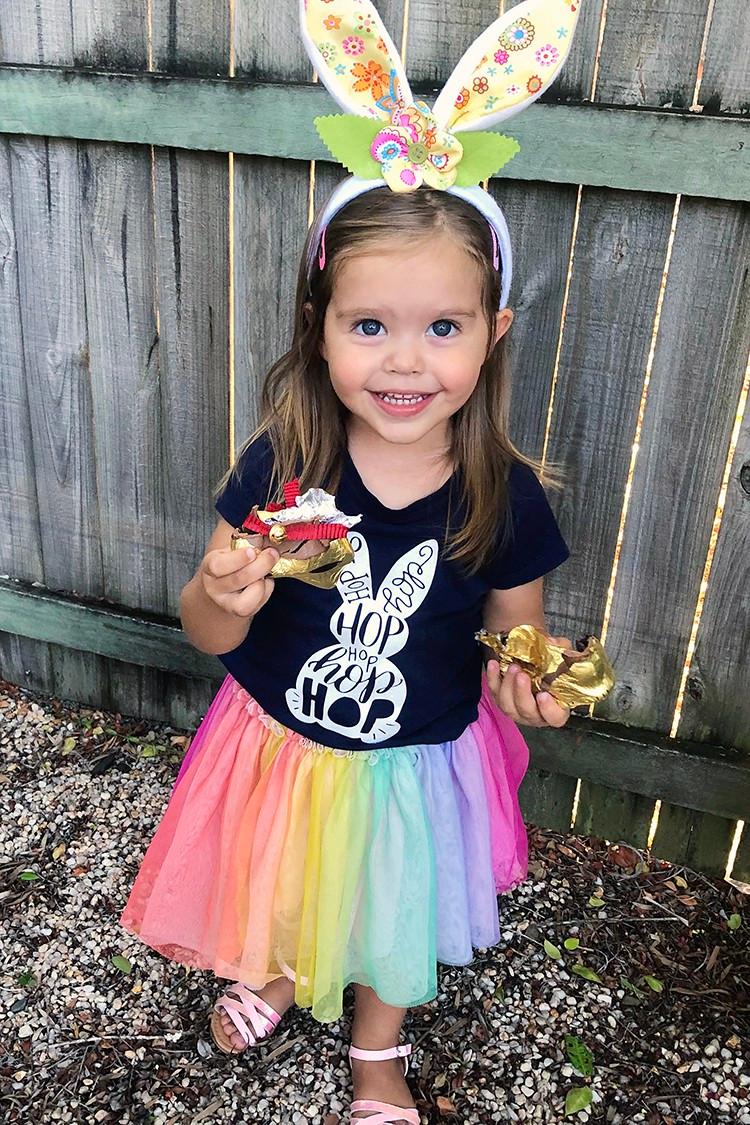
But before that, here’s a list of all the materials and craft supplies you need to get started:
What You Need To Get Started On Making Your Custom Easter SVG For Kids Bunny T-Shirts
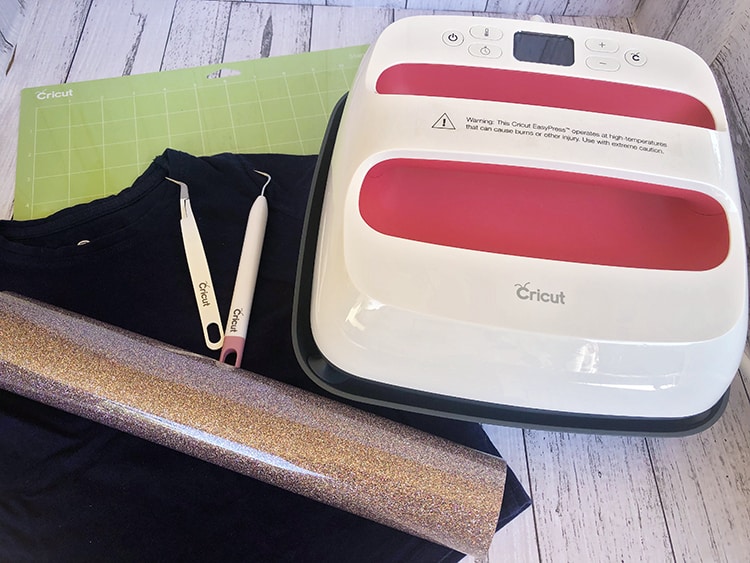
1. A Blank Toddler T-Shirt
2. EasyWeed Glitter HTV Vinyl or similar
4. Heat Press Machine For Application
5. A Vinyl Cutting Machine like Cricut (SO many possible uses!)
6. An Easter Bunny SVG (see below for the free easter svg files!)
Part 1: How To Prepare Your Design File
The first part of the process is to create a file that your vinyl machine will use to cut out the design. In the event that you do not have one of these, you can find a DTF station film that allows you to produce high-quality prints if you want to make this idea a bigger one.
I love my Cricut Explore Maker machine, here is a helpful post that you can use to compare Cricut Machines that are currently on the market.
Step 1: Open up the design software which you are using for your digital products and digital files. (In this example, I am using Cricut Design Space) but adobe illustrator is also good!
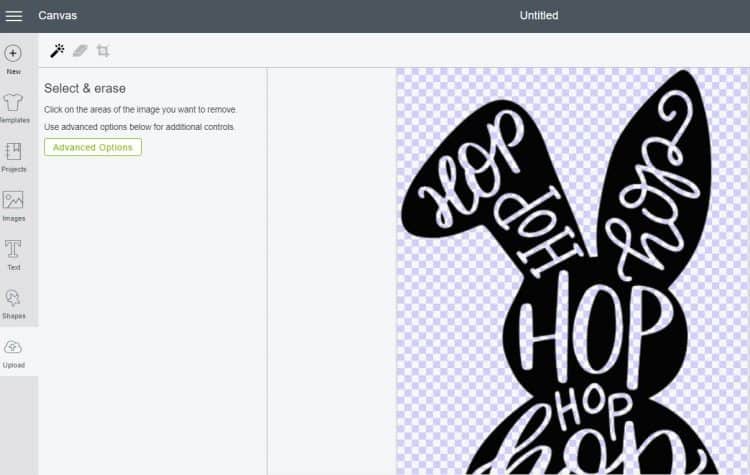
Step 2: Get your happy easter SVG file (I used this adorable Easter Bunny SVG file) to make our super cute easter shirt svg. If you’re making an Easter bunny, you can find it online in several places including Cricut’s own library for commercial use or personal use.
You can even make it by hand. But there are plenty of free svg files and free easter svg cut files easter clipart and digital items you can find online if you just search. I found so many beautiful easter designs and choosing one was hard!
Here, I am using a screenshot of the bunny. You’ll notice my SVG capture has words showing through it. I wanted to do this so that the T-shirt below is visible through the gaps where the words are.
Step 3: Take your SVG file or Easter SVG Bundle and upload it (instant download) to Cricut Design Space. Choose “simple” for the design, and then use the “Select & Erase” wand to remove the background (transparent background) and the words on the bunny.
Step 4: Resize the size of the bunny according to the size of your shirt.
Step 5: Mirror-flip the image of the bunny and then select the “iron-on” mode for your choice of material
Step 6: Place the HTV vinyl with the shiny side facing down on the mat and then load the mat into the machine
Part Two: Take The Vinyl Decal Out Of The Sheet
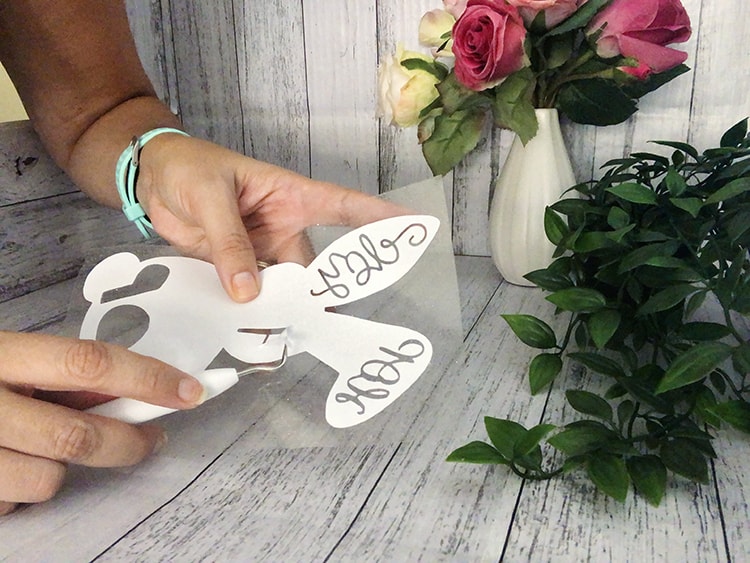
Now that the cutting has been completed, you need to free your design from the rest of the vinyl which you don’t need.
Step 7: Use the included weeding tool to grab a hold of the vinyl sheet. Peel away the sheet, leaving only the cut vinyl behind.
Step 8: Now use the weeding tool and carefully cut out the words on the design. Be super careful not to mess up the rest of the design.
Part Three: Applying the Vinyl On The Shirt
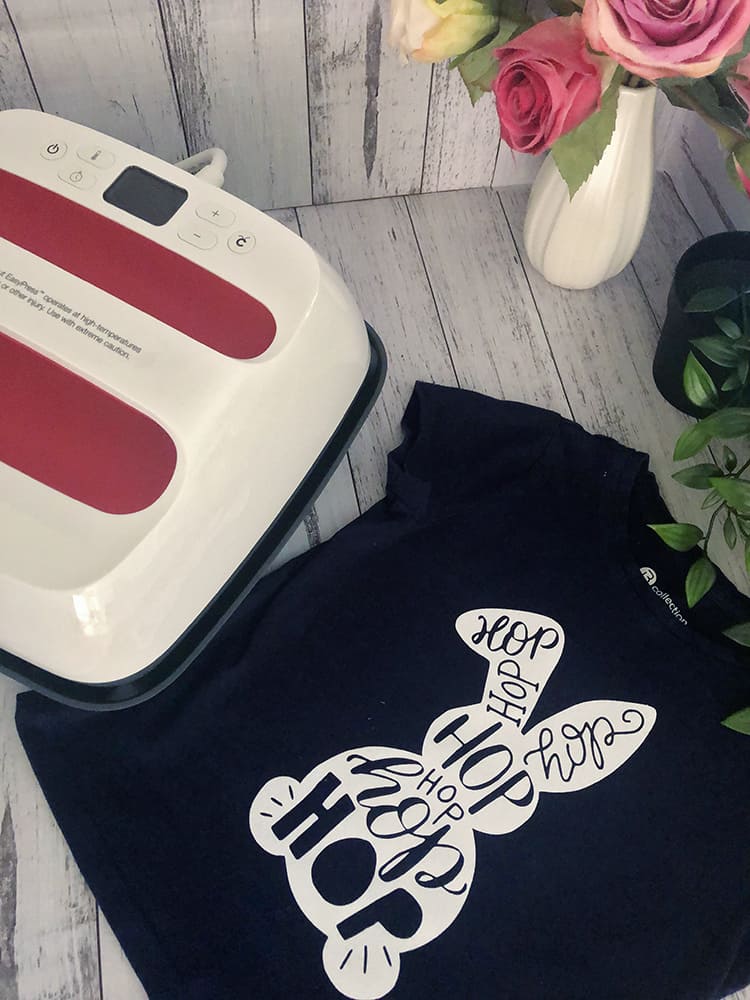
Step 9: Set your heat press machine to a temperature of 320°F/160°C and then, set your timer to about 20 seconds.
Step 10: Pre-press your shirt for 5 seconds
Step 11: Find the right place where you want to put the vinyl on your tee shirt. Put the vinyl on the shirt and apply the heat press on it for 20 seconds. Then flip the shirt inside out and then do the same thing again for another 20 seconds.
Step 12: Once the vinyl becomes warm to the touch, carefully peel back the corners of the backing until it’s entirely removed. If the vinyl starts coming out, do another press again.
This cute little Silly Rabbit Easter Bunny would also look really cute on tote bags, on Easter crafts, used as wall decals, used as birthday party decorations, car decals, or whatever! So many fun uses!
Well, that’s it from us today! Making DIY t-shirts is a whole load of fun and saves you a lot of money as well. I had a lot of fun creating this Custom Easter Bunny T-shirt. Don’t forget the bunny ears and easter eggs! We hope our guide has been informative. Until next time!
If you enjoyed my blog post about a Custom Easter SVG For Kids Bunny T-Shirts! If you did, then you will love my other blog posts on Easter:
*Easter Bread with Colored Eggs
*How To Start A T-Shirt Printing Business From Scratch
Brenny says
wow, that is so cute and the little princess she looks soo pretty.
Dana Rodriguez says
That is so cute!